

Living in an RV means every square inch counts, and a Starlink dish is a bulky, heavy piece of equipment that refuses to fit into standard storage solutions. You are not just dealing with a router; you are managing a 4.4-pound dish, a 12-foot power cable, an Ethernet cable, and various adapters that tend to roll around the garage floor at 60 mph. The result is often a tangle of wires, a scratched dish, and a frustrating loss of signal when you finally plug everything in. This guide focuses on practical, physical solutions to keep your Starlink hardware organized, protected, and ready to deploy without turning your living space into a server room.
Assessing Your Starlink Hardware & Space
Before buying any storage, you need to measure your equipment and your RV. Starlink hardware varies slightly by generation, but the core components remain consistent. The Standard Starlink dish weighs approximately 4.4 pounds. The Gen 2 power cable is roughly 12 feet long, and the Ethernet cable is also about 12 feet. If you are using a third-party router (like an Eero or Orbi) because the Starlink router lacks a public IP or local network features, you are adding another 1-2 pounds of hardware and additional cabling.
Measuring Your Storage Zones
Most RVs have two primary storage zones: the garage (front or rear) and the main living area cabinets. The garage is typically the best location for the dish because it is larger and often has a ceiling height that accommodates the dish’s height when boxed. However, the garage floor is often slippery, and items shift easily during turns. Living area cabinets are more stable but often have depth limitations. A standard Starlink dish box is roughly 17 inches long, 14 inches wide, and 4 inches deep. If your cabinet is shallower than 15 inches, the dish will not fit inside if you keep it in its original packaging. You may need to remove the dish from the box and store it in a custom bag or case, or find a cabinet with at least 16 inches of depth.
Weight Distribution Considerations
Starlink gear is not heavy compared to a generator or a water heater, but it is denser than clothing. A full Starlink kit (dish, cables, router, adapters) weighs between 10 and 15 pounds. If you store this in a high overhead cabinet, you are adding significant weight to the upper center of gravity of your RV. While 15 pounds is manageable, repeated lifting of this weight into a high cabinet can strain your shoulders. If you are storing the gear in the garage, ensure the floor is level and non-slip. If you are storing it in a living area cabinet, check the weight rating of the cabinet shelves. Most RV cabinet shelves are designed to hold 20-40 pounds, so the Starlink kit will fit safely, but you should avoid stacking heavy items on top of it.
Organizing Power & Ethernet Cables
Cables are the primary source of clutter in an RV. They tangle, they roll out of bags, and they get pinched in cabinet doors. The key to cable organization is not just keeping them together, but managing their length and preventing sharp bends. Starlink cables are stiff. If you coil them too tightly, they will kink, which can damage the internal wiring over time. A good cable storage solution allows the cable to rest in a loose, natural curve.
Cable Management Techniques
Start by separating the power cable from the Ethernet cable. These two cables have different functions and different lengths of use. The power cable needs to reach from the dish to a 120V outlet or a pure sine wave inverter. The Ethernet cable connects the dish to the router. Keep these separate in different sleeves or loops. Use Velcro cable ties, not zip ties. Zip ties are permanent; if you need to adjust the length of the coil for a different setup, you have to cut the tie and buy a new one. Velcro ties allow for quick adjustments. Wrap the cables around a cylindrical core, such as a piece of PVC pipe or a dedicated cable organizer, to maintain a consistent diameter. This prevents the cables from flattening and sticking together.
Strain Relief & Protection
The connection points of the Starlink cables are vulnerable. The power connector is a standard C13 plug (like a computer power plug), and the Ethernet connector is a standard RJ45. These connectors are not designed to be yanked repeatedly. When storing, ensure the connectors are not bent at a 90-degree angle. Use cable sleeves that cover the first 6 inches of the cable from the connector. This protects the internal wiring from fatigue. If you are using a third-party router, you will have additional short patch cables. Store these in a small mesh pouch attached to the main cable organizer. This keeps them from rolling away and ensures you can find the right length quickly.
Storing the Dish & Router
The dish is the most fragile component. The mesh surface is delicate and can be dented or cracked if dropped or crushed. The router is smaller but also sensitive to static and physical impact. You need a storage solution that protects the dish from dust, moisture, and physical impact while keeping it compact enough to fit in your RV.
Protective Cases for the Dish
The original Starlink box is not a long-term storage solution. It is made of thin cardboard and will degrade with humidity. If you keep the dish in the box, it will absorb moisture and possibly grow mold. Instead, use a hard-shell case. A Pelican case or a similar rugged case is ideal. Look for a case that is at least 18 inches long, 15 inches wide, and 5 inches deep. This gives you room for the dish and some padding. Line the case with foam to create a custom fit for the dish. This prevents the dish from shifting inside the case during driving. If you do not want to buy a new case, you can use a large, durable duffel bag with a rigid base. Place the dish inside a plastic bag to protect it from dust, then place the bag in the duffel. Add towels or clothing around the dish to cushion it.
Router & Accessory Storage
The router is smaller and can be stored in the same case as the dish or in a separate, smaller pouch. If you have a third-party router, it may be larger than the Starlink router. Check the dimensions of your router before buying a case. A small, zippered tech pouch is sufficient for the router, any adapters, and the Ethernet cable. Keep the router in a dry, cool place. Avoid storing it in direct sunlight, as heat can affect the internal components. If you are using a mesh system with multiple nodes, store each node in its own individual pouch to prevent them from knocking against each other.
Securing Gear While Driving
The biggest risk to your Starlink gear is not theft or damage from the elements, but damage from driving. Even if you are careful when handling the gear, the constant vibration and movement of the RV can cause items to shift. If the dish is not secured, it can slide around in its case, potentially cracking the mesh. If the cables are loose, they can wrap around moving parts or get pinched in doors.
Securing Items in the Garage
If you store the Starlink kit in the garage, you must secure it to the floor or a wall. Use bungee cords or heavy-duty Velcro straps to anchor the case to the garage floor. The garage floor is often made of fiberglass or composite material, which can be slippery. Use non-slip mats underneath the case to prevent it from sliding. If you are storing the kit in a cabinet, ensure the cabinet door is latched securely. Use a heavy-duty latch or a bungee cord to keep the door closed during sharp turns. Do not rely on the cabinet door’s own latch, as these can fail over time.
Securing Items in the Living Area
Living area cabinets are often smaller and more fragile. Avoid storing heavy items in high cabinets. If you must store the Starlink kit in a living area cabinet, use a non-slip mat on the shelf to prevent the kit from sliding. Ensure the cabinet is not in a high-traffic area where it might be bumped. If you are using a dedicated tech cabinet, consider adding a small lock to prevent accidental opening. This is especially important if you have children or pets in the RV.
Recommended Storage & Organization Tools
While many RVers use generic storage bins, specific tools can make the process of organizing and maintaining your Starlink setup easier. The following products are selected for their utility in a small-space environment. Note that while these products are categorized under home storage and organization, their specific applications in an RV context require careful consideration of size, weight, and function.
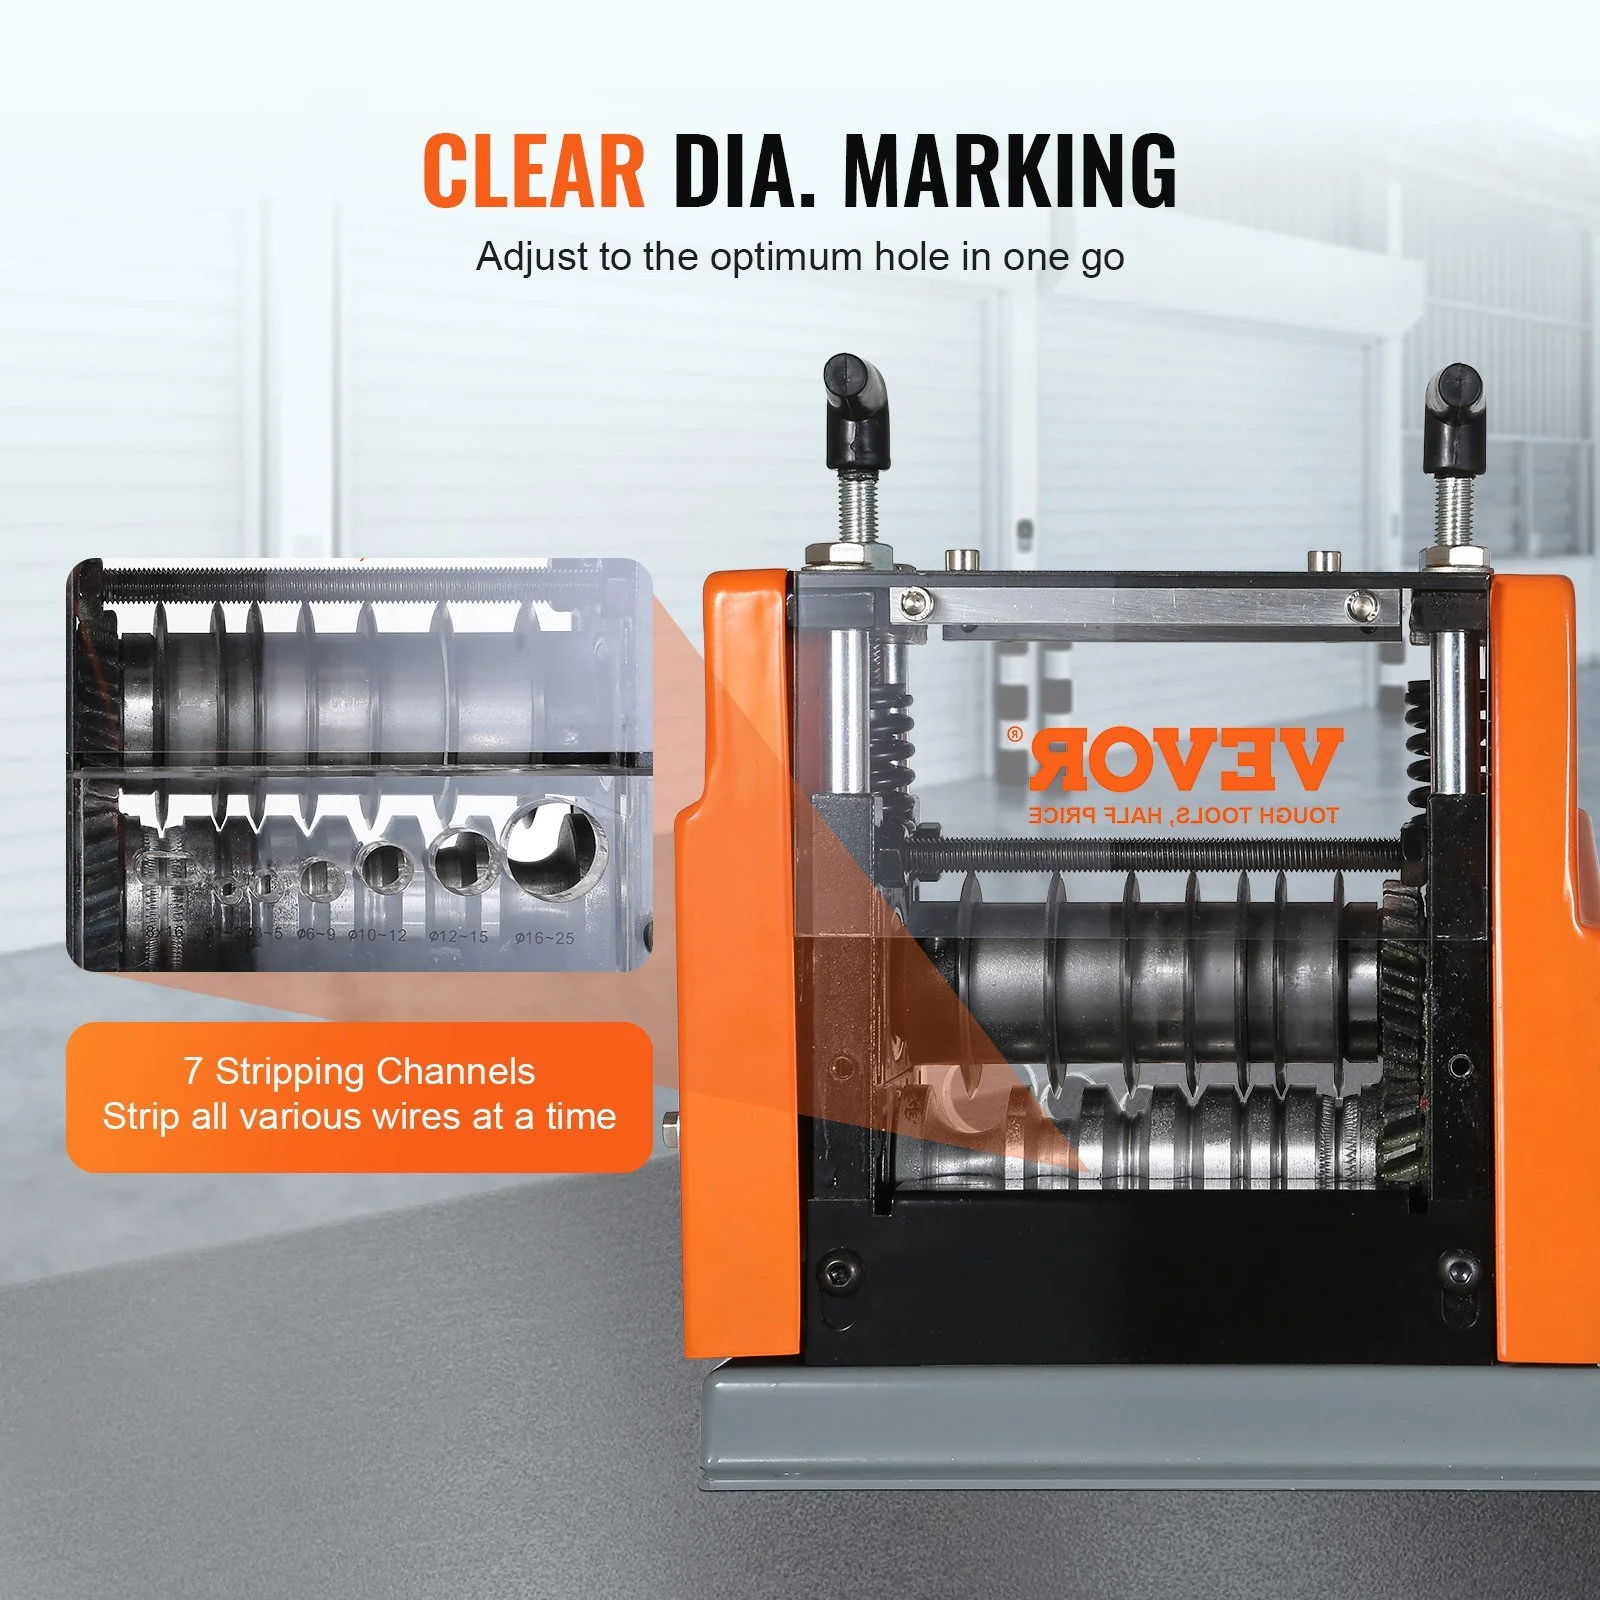
1. Automatic Wire Stripping Machine
If you are customizing your cable setup, such as creating a dedicated power extension or modifying Ethernet cables for better strain relief, an automatic wire stripping machine can save time and prevent damage to the wire insulation. This electric motorized cable stripper features a 60W motor and visible stripping depth reference, ensuring precise cuts. It includes 6 round and 1 flat channel for scrap copper recycling, which is useful if you are working with older or damaged cables. Best for DIY enthusiasts who need to repair or modify Starlink power or Ethernet cables for custom lengths or connections.
- Pro: Precise, consistent stripping reduces the risk of damaging the internal copper wires.
- Pro: Visible depth reference allows for accurate adjustment based on wire gauge.
- Con: Overkill for simple organization; only useful if you are actively modifying or repairing cables.
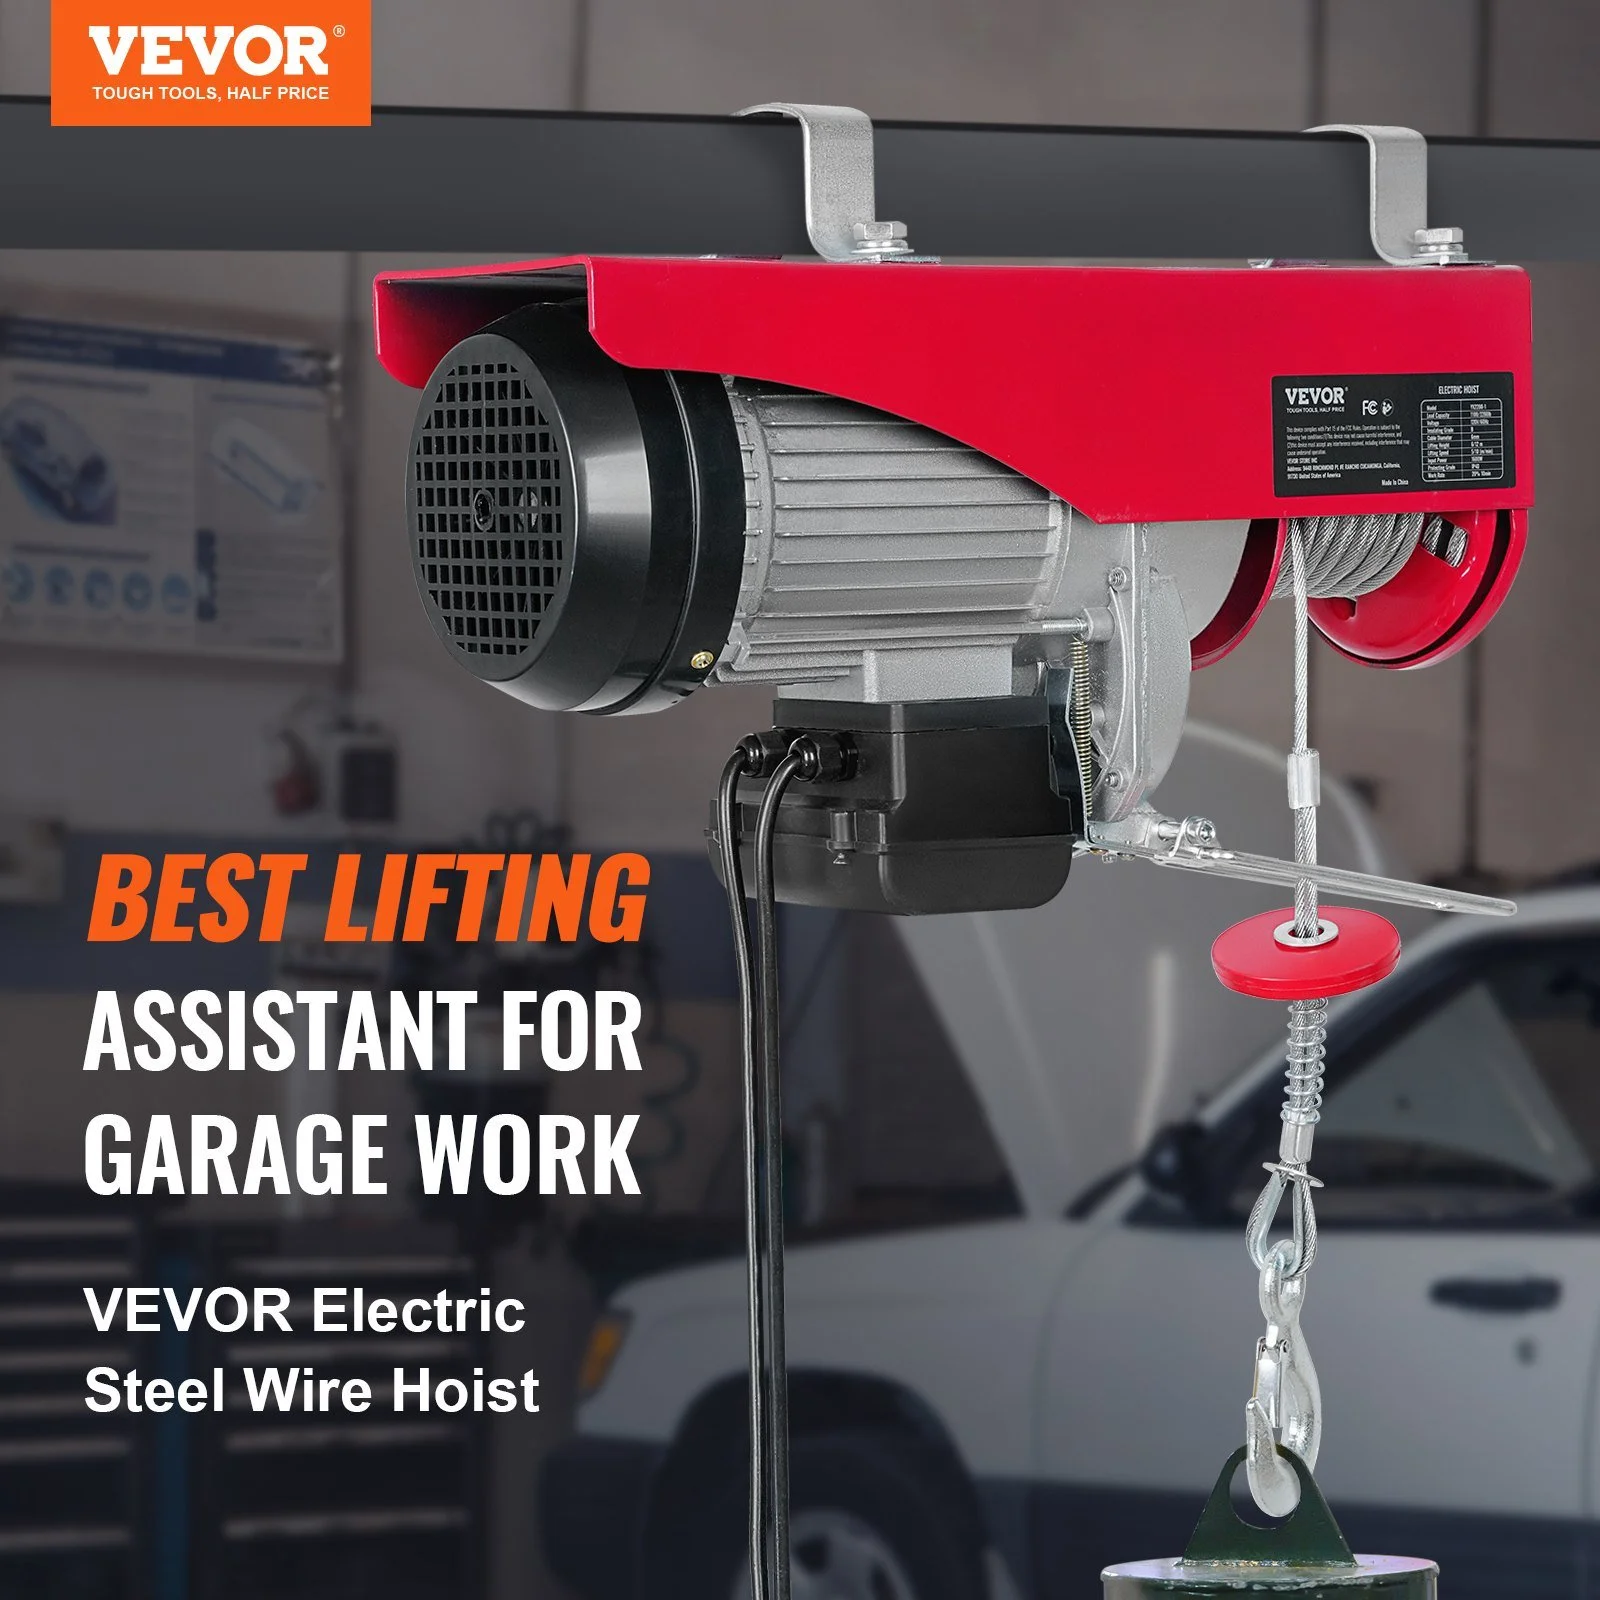
2. Vevor Electric Hoist
While not a direct storage bin, an electric hoist can be a powerful tool for managing heavy gear in an RV, particularly if you are storing your Starlink dish in a high overhead storage area or a garage with a high ceiling. The Vevor 2200 Lbs Attic Lift is a 1600w 110v electric hoist with a 14ft wired remote control and 40ft single cable lifting height. While 2200 lbs is far more than you need for a 4.4-pound dish, this hoist can be used to lift and store other heavy RV equipment, freeing up floor space for your Starlink kit. It can also be used to lift the Starlink dish to a high storage location if you have a robust mounting point. Best for RVers with high ceiling storage who want to maximize floor space and have the electrical capacity to run a 110v hoist.
- Pro: Significant lifting capacity allows for versatile use with other heavy RV gear.
- Pro: Wired remote control provides reliable operation without battery concerns.
- Con: Requires a 110v power source and significant structural support for installation, which may not be feasible in all RVs.
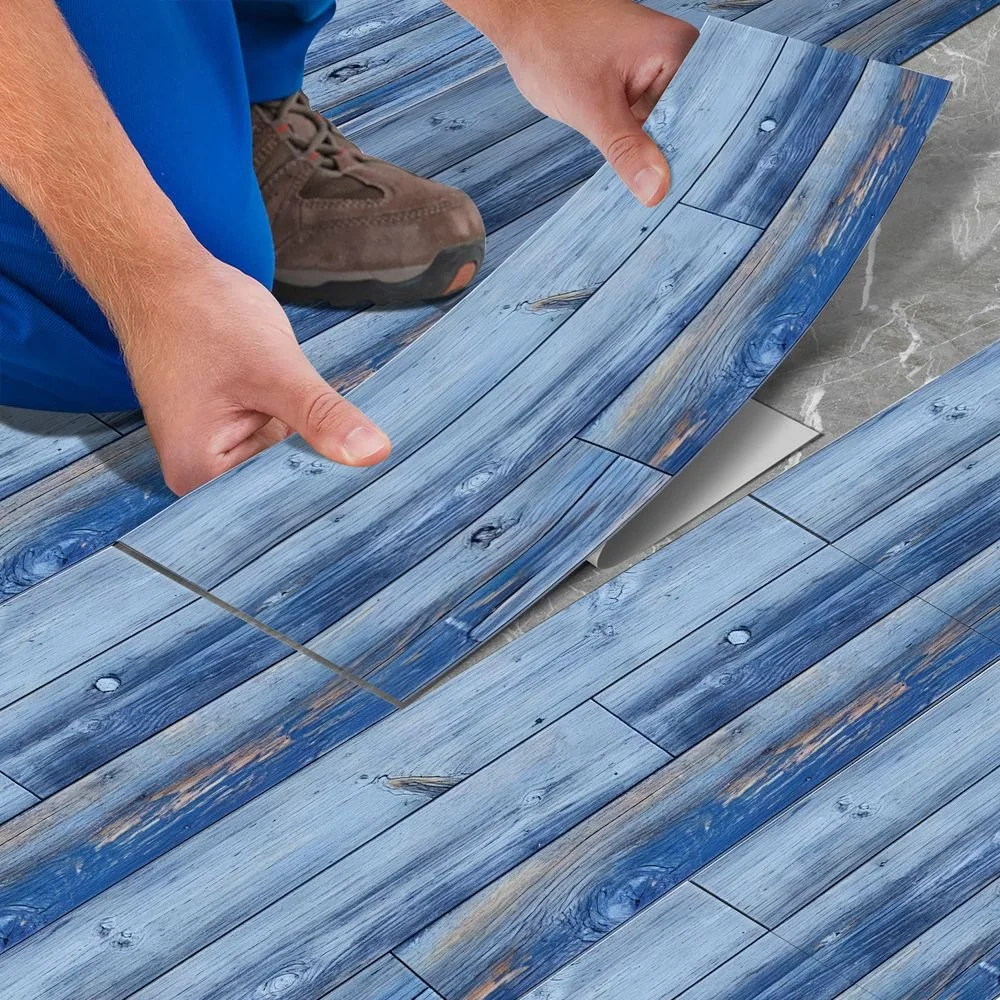
3. Blue Wood Grain Peel and Stick Floor Tiles
Keeping the area where you store your Starlink gear clean and non-slip is crucial. Blue Wood Grain Peel and Stick Floor Tiles are PVC self-adhesive, removable, and waterproof. These tiles can be used to create a dedicated, non-slip zone in your garage or living area where you will frequently set up and take down your Starlink kit. The waterproof nature of the tiles makes them easy to clean if you spill water or coffee while working on your setup. Best for Creating a clean, non-slip, and easy-to-clean workspace for setting up and taking down your Starlink gear.
- Pro: Waterproof and easy to clean, reducing the risk of damage from spills.
- Pro: Peel and stick installation allows for easy removal if you decide to change your storage layout.
- Con: May not be as durable as permanent flooring under heavy, stationary objects like a large hard-shell case.
4. Hydraulic Boat Steering Kit
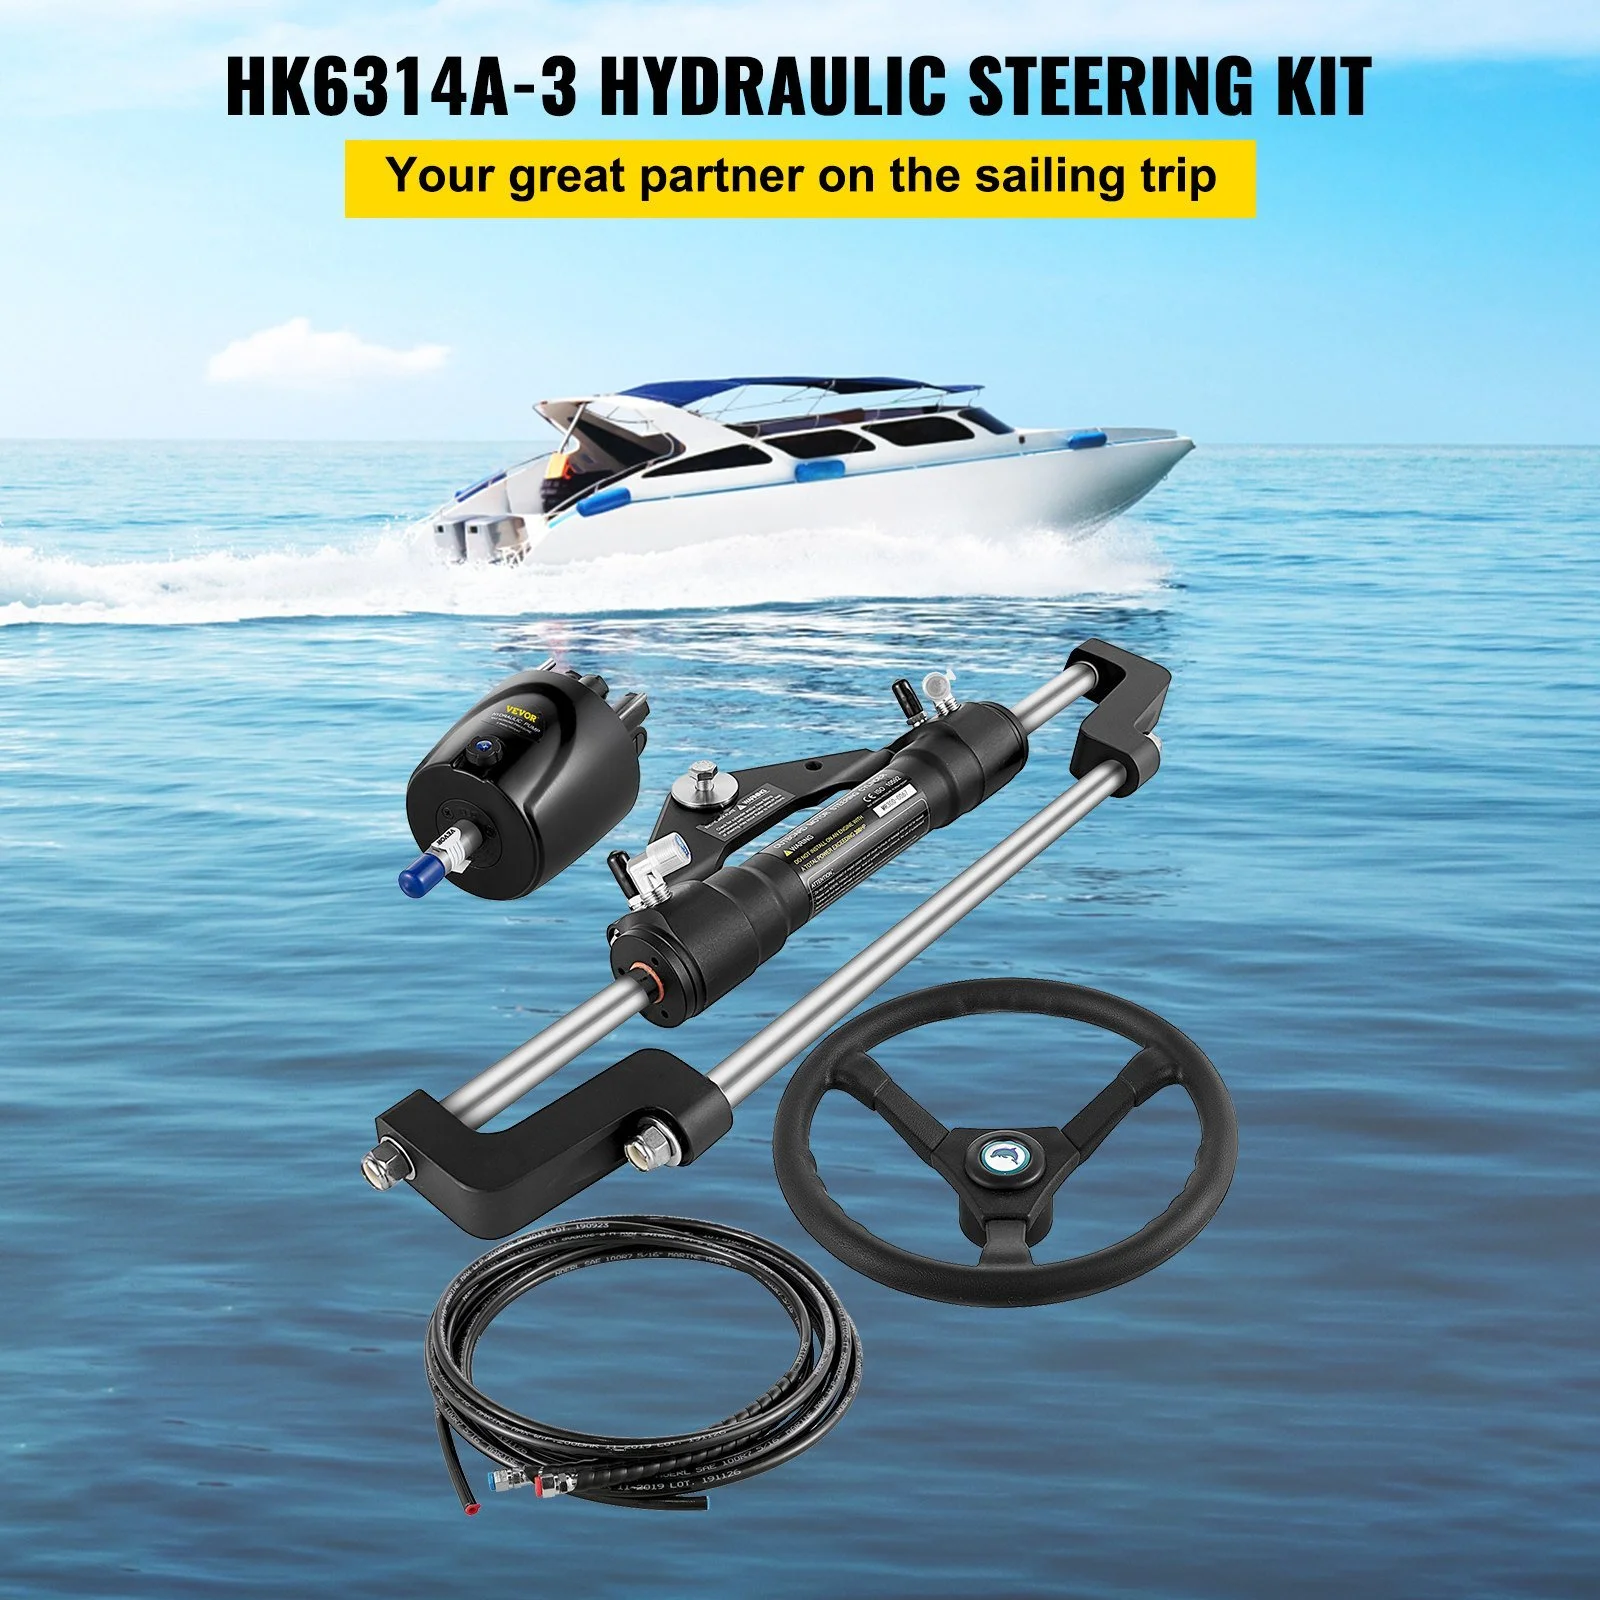
This product is listed in the home storage category but is actually a hydraulic steering kit for boats. It is not relevant for Starlink RV setup. However, if you are a boater who also uses an RV, this kit could be used to upgrade your boat’s steering system. It features a 300hp hydraulic steering kit helm pump and a 14 feet hydraulic steering hose. Best for Boaters who need a hydraulic steering upgrade for their outboard motor.
- Pro: Provides smooth and responsive steering for larger outboard motors.
- Pro: Includes all necessary components for a complete hydraulic steering system.
- Con: Irrelevant for Starlink RV storage; intended for boat steering systems.
5. Vevor Electric Warming Tray
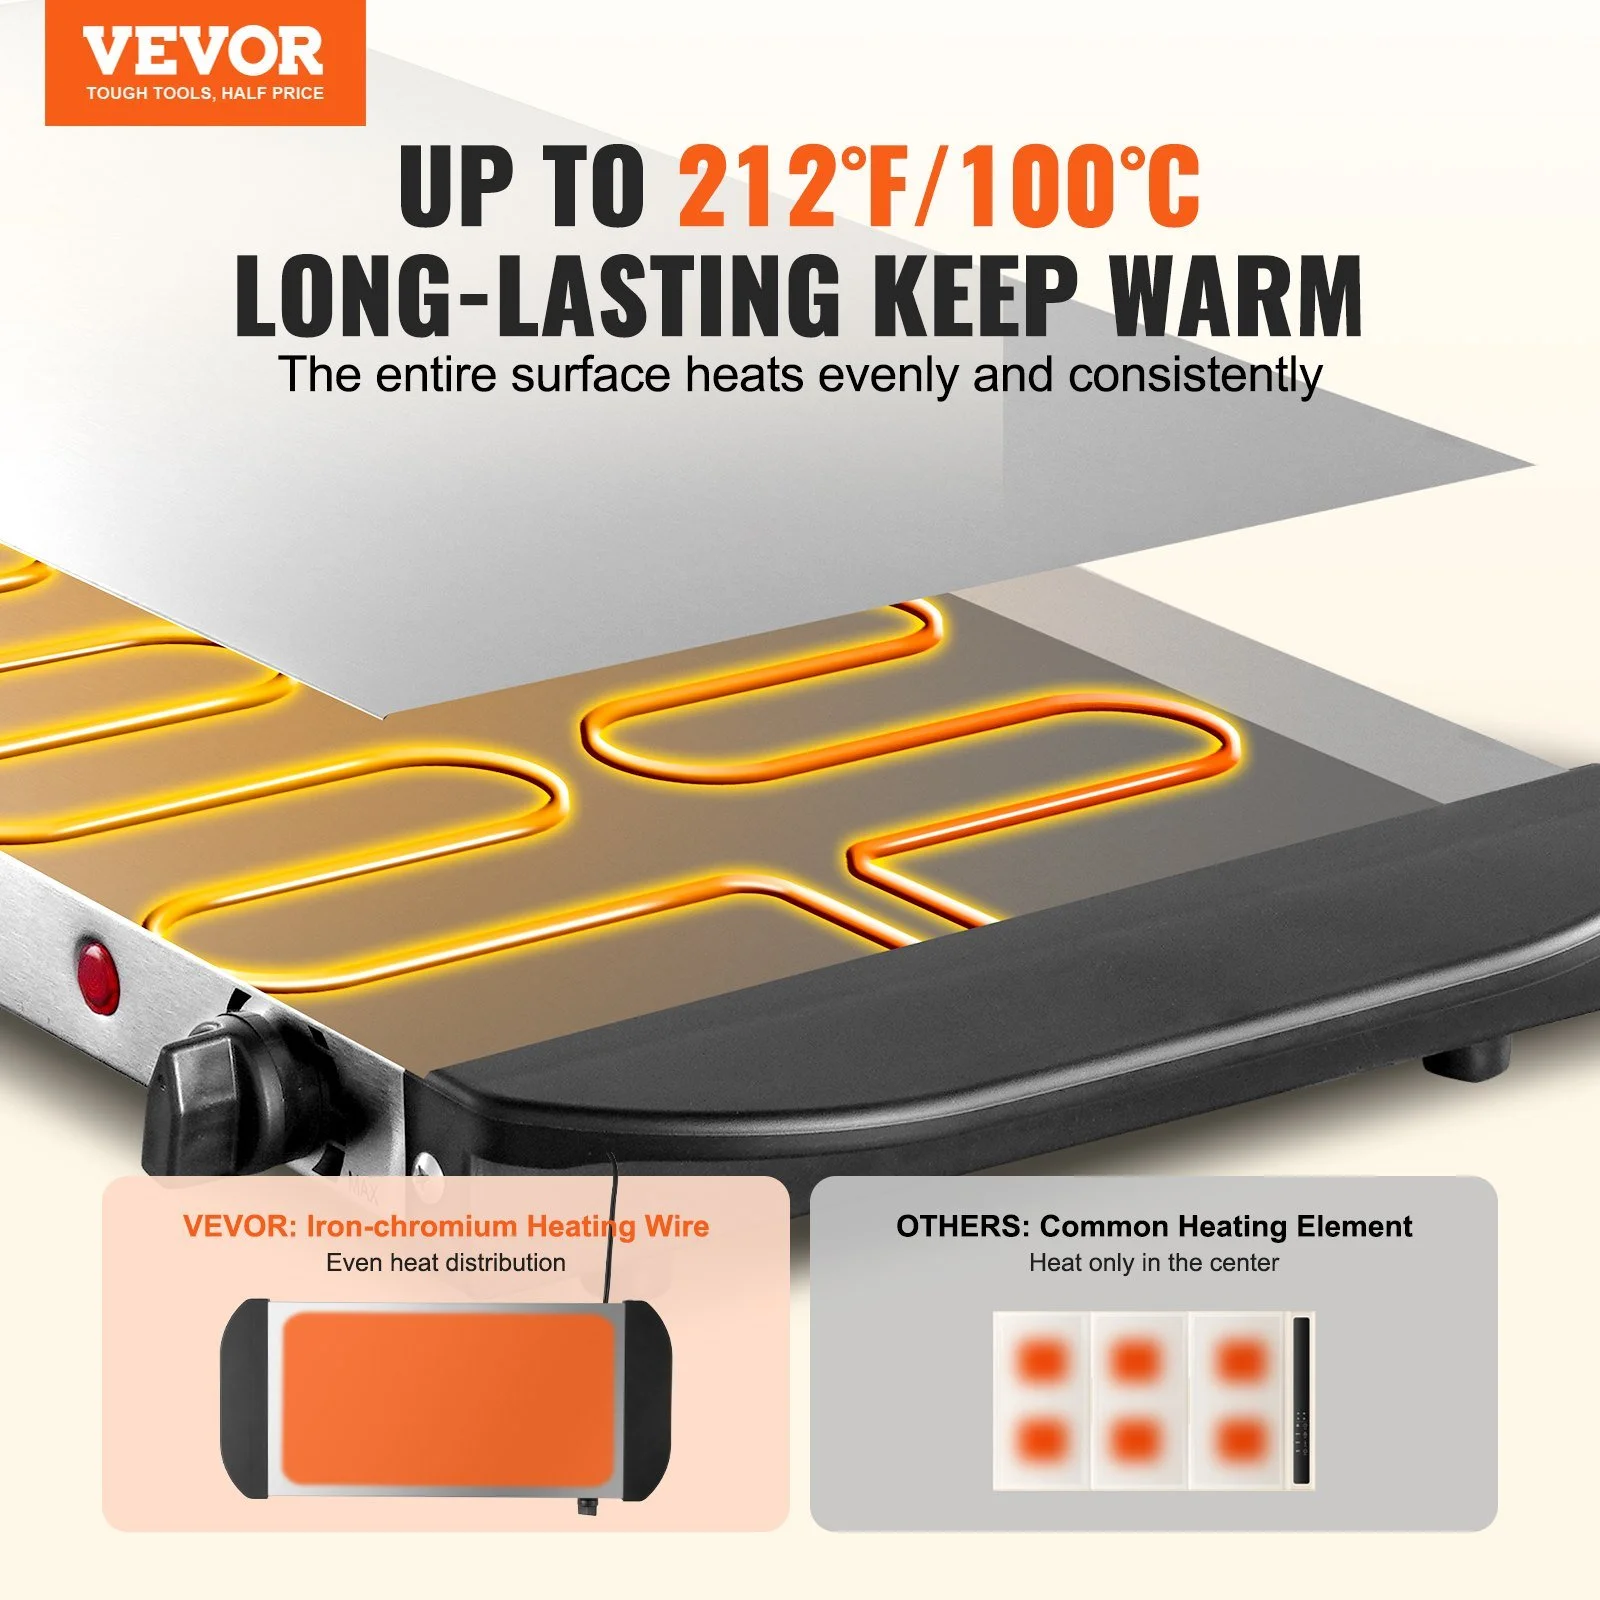
Similar to the boat steering kit, this product is listed in the home storage category but is actually an electric warming tray. It is not relevant for Starlink RV setup. However, it can be used to keep food warm during long drives or while setting up your Starlink gear. It features temperature control and is made of stainless steel. Best for Keeping food warm during long drives or while setting up your Starlink gear.
- Pro: Temperature control allows for precise warming of food.
- Pro: Stainless steel construction is durable and easy to clean.
- Con: Irrelevant for Starlink RV storage; intended for food warming.
6. Privacy Screen
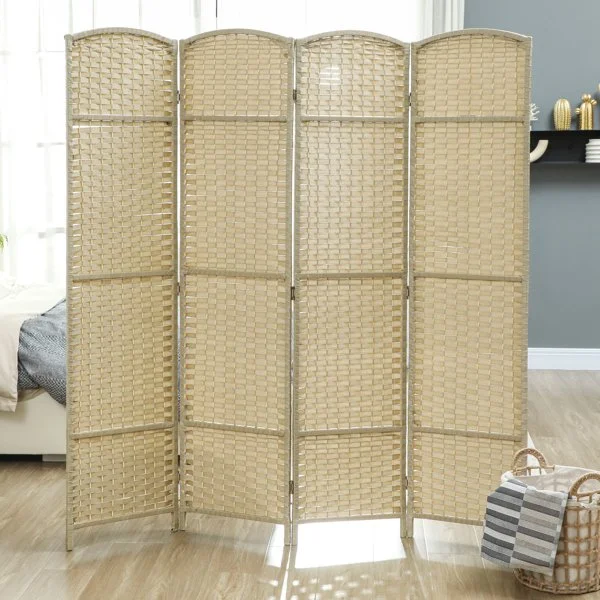
A privacy screen can be useful in an RV setting, particularly if you are working from your RV and need a visual barrier between your workspace and the rest of the living area. This beige privacy screen can be used to create a dedicated workspace for your Starlink router and computer, helping to reduce visual clutter and distractions. Best for Creating a visual barrier and dedicated workspace for your Starlink router and computer in a small living area.
- Pro: Helps reduce visual clutter and distractions in a small living space.
- Pro: Beige color blends well with most RV interiors.
- Con: May take up valuable floor space in a small RV.
Common Mistakes to Avoid
Many RV owners make mistakes when storing their Starlink gear that lead to damage, frustration, or loss of signal. Avoiding these common pitfalls can save you time and money.
1. Storing Cables in Tight Coils
Starlink cables are stiff and do not like tight coils. If you coil the cables too tightly, you will create kinks in the internal wiring. Over time, these kinks can cause the cables to break or lose signal. Always coil the cables in a loose, natural curve. Use a cable organizer or a cylindrical core to maintain the proper diameter of the coil.
2. Using Zip Ties for Cable Management
Zip ties are permanent and can be difficult to remove without cutting the cable. If you need to adjust the length of the cable coil, you will have to cut the zip tie and buy a new one. Use Velcro cable ties instead. They are reusable and allow for quick adjustments. Additionally, zip ties can cut into the cable insulation if they are too tight, causing damage over time.
3. Storing the Dish in Direct Sunlight
The Starlink dish is made of plastic and mesh, which can degrade in direct sunlight. UV rays can cause the plastic to become brittle and the mesh to crack. Store the dish in a cool, dry place away from direct sunlight. If you must store the dish in a garage with a window, use a UV-blocking film or curtain to protect it from the sun.
4. Not Securing Gear While Driving
Unsecured gear can shift and slide around your RV while driving, causing damage to the gear and your RV. Always secure your Starlink kit with bungee cords, Velcro straps, or a non-slip mat. Ensure that the cabinet doors are latched securely and that the gear is stable before you start driving.
5. Ignoring Moisture
Moisture is the enemy of electronics. If you store your Starlink gear in a damp area, such as a bathroom or a garage with poor ventilation, the gear can suffer from corrosion and mold. Use a dehumidifier or silica gel packets to keep the storage area dry. Ensure that the gear is completely dry before storing it in a case or bag.
Care & Maintenance Tips
Proper care and maintenance of your Starlink gear will extend its lifespan and ensure reliable performance. Follow these tips to keep your gear in top condition.
Regular Cleaning
Clean the dish and router regularly to remove dust and debris. Use a