
You have a pile of candy, a few hours to spare, and a desire to make your Halloween party look intentional rather than chaotic. The problem with most home candy stations is that they feel like a grocery store checkout counter: hard, cold, and visually noisy. You want a setup that feels warm, approachable, and aesthetically pleasing, but you likely don’t have time for elaborate crafts or expensive store-bought centerpieces. This guide breaks down how to use everyday home textiles—specifically throws and mats—to create a "candy bar" that looks curated and functions well for high-traffic events.
Planning the Layout and Flow
Before you touch a single piece of candy, you need to define the physical space. A candy bar is not just a display; it is a service point. If guests have to squeeze past a crowded couch to get a lollipop, the station fails. The goal is a clear, unobstructed path from the entrance to the candy table, with enough room for two or three people to select treats simultaneously without bumping elbows.
Defining the Zone
Measure your available wall space. For a standard living room, a table width of 4 to 6 feet is ideal. If you are using a console table, ensure it is at least 18 inches deep to accommodate bowls without them tipping. If you are using a folding table, place it against a wall to create a "stage" effect. This arrangement allows you to use the wall as a backdrop, which is where your throw blankets will do the heavy lifting visually.
Guest Traffic and Accessibility
Consider who is attending. If children are the primary users, the table height should be accessible, or you should place the candy bowls slightly forward on the table so they don’t have to reach over larger items. For office parties or adult gatherings, a standard dining height is fine, but ensure there is a clear "landing zone" on the table where guests can put their plates or bags before selecting candy. This prevents the "candy avalanche" where treats spill onto the floor because guests have nowhere to place their current selection.
Lighting and Visibility
Candy looks better in warm light. If your room relies on harsh overhead fluorescents, consider adding a string light or a small table lamp to the corner of the candy table. This not only improves the aesthetic but also helps guests see the colors of the candy clearly, which is important for choosing specific treats. Avoid placing the table directly under a single, bright ceiling spot, as this creates harsh shadows that make the table look disjointed.
Choosing the Right Textiles for a Candy Station
Textiles are the secret to making a hard table look soft and inviting. However, not all blankets work for this purpose. You need materials that are durable enough to withstand sticky fingers and easy to clean if an accident happens. The base layer is crucial: it defines the color palette and protects the table surface.
Base Layer: The Table Runner or Mat
Start with a base layer that covers the center of the table. A wide table runner or a set of large placemats serves this purpose. For a Halloween theme, you don’t need to go full orange and black. Neutral tones like cream, gray, or deep plum often look more sophisticated and allow the candy colors to pop. If you are using a solid-colored tablecloth, a textured runner on top adds dimension. The material should be smooth enough to wipe clean but textured enough to grip the bowls slightly so they don’t slide around when touched.
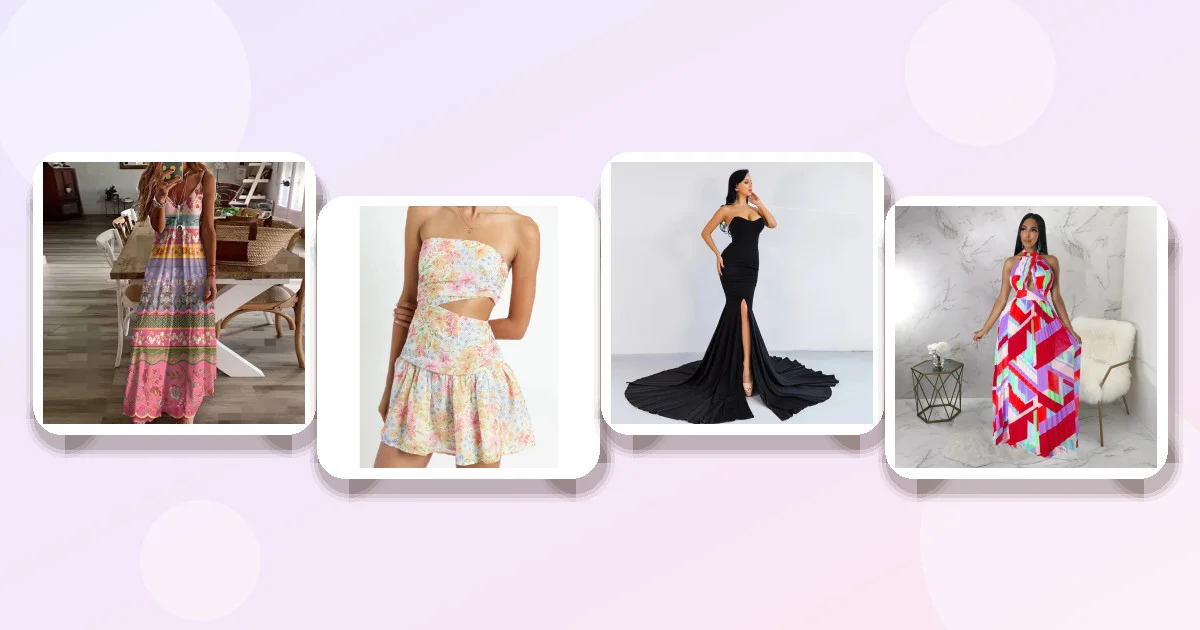
Flower Placemat for Dining Table Coaster Plum Blossom
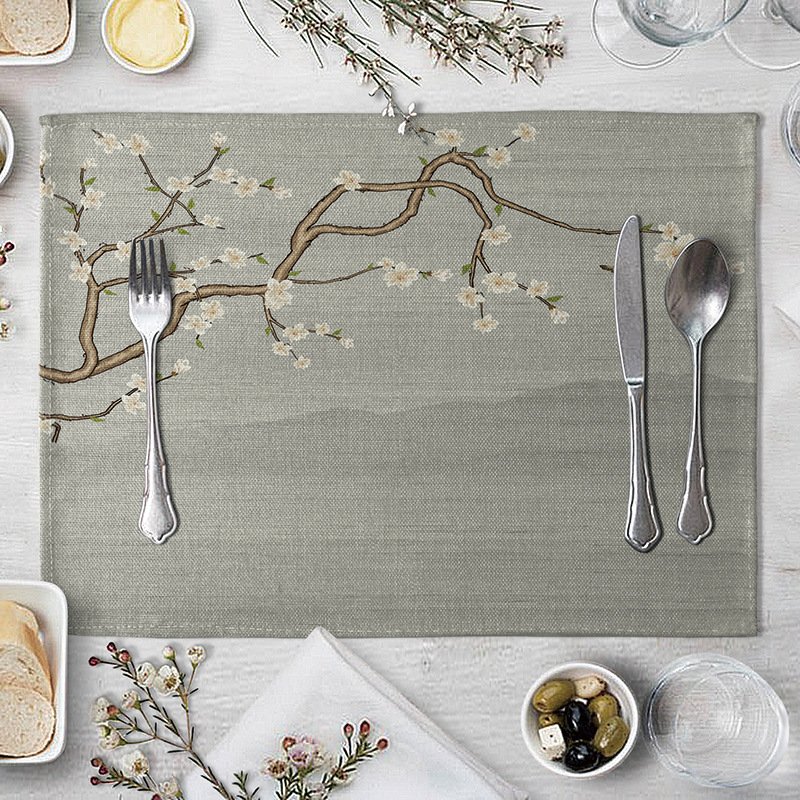
- Pro: The plum blossom design offers a soft, organic pattern that contrasts well with the geometric shapes of candy bowls.
- Pro: At $3.08, it is an affordable way to upgrade the look of a plain table without a large investment.
- Con: The size is 40x30cm, which is smaller than a standard US placemat; you may need multiple units to cover a large table area, and the Asian sizing may run smaller than expected.
Top Layer: The Themed Throw
Place a shorter, textured throw at the end of the table or folded neatly in the corner. This adds a layer of "coziness" that signals to guests that the space is relaxed. Look for materials like faux fur, chunky knit, or soft cotton. These textures invite touch, which is psychologically important for a hospitality station. The throw should not be so long that it drapes onto the floor, as this becomes a tripping hazard in a party setting. Aim for a length that rests just above the table edge or pools slightly on the table surface only.
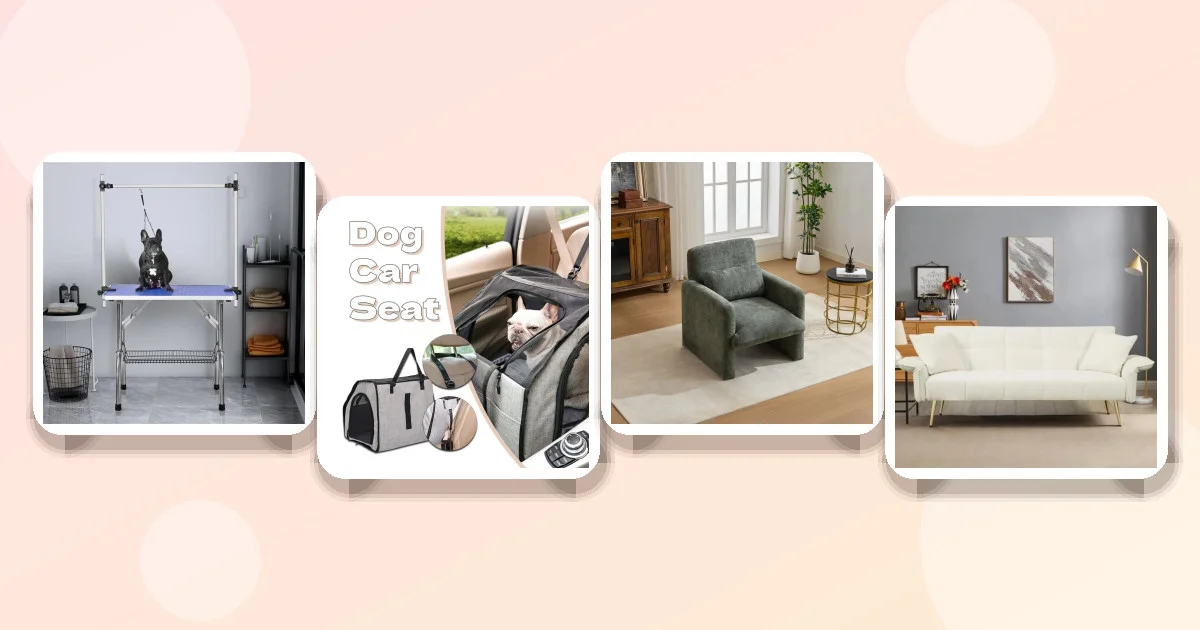
Machine Washable Simmons Mattress Cover
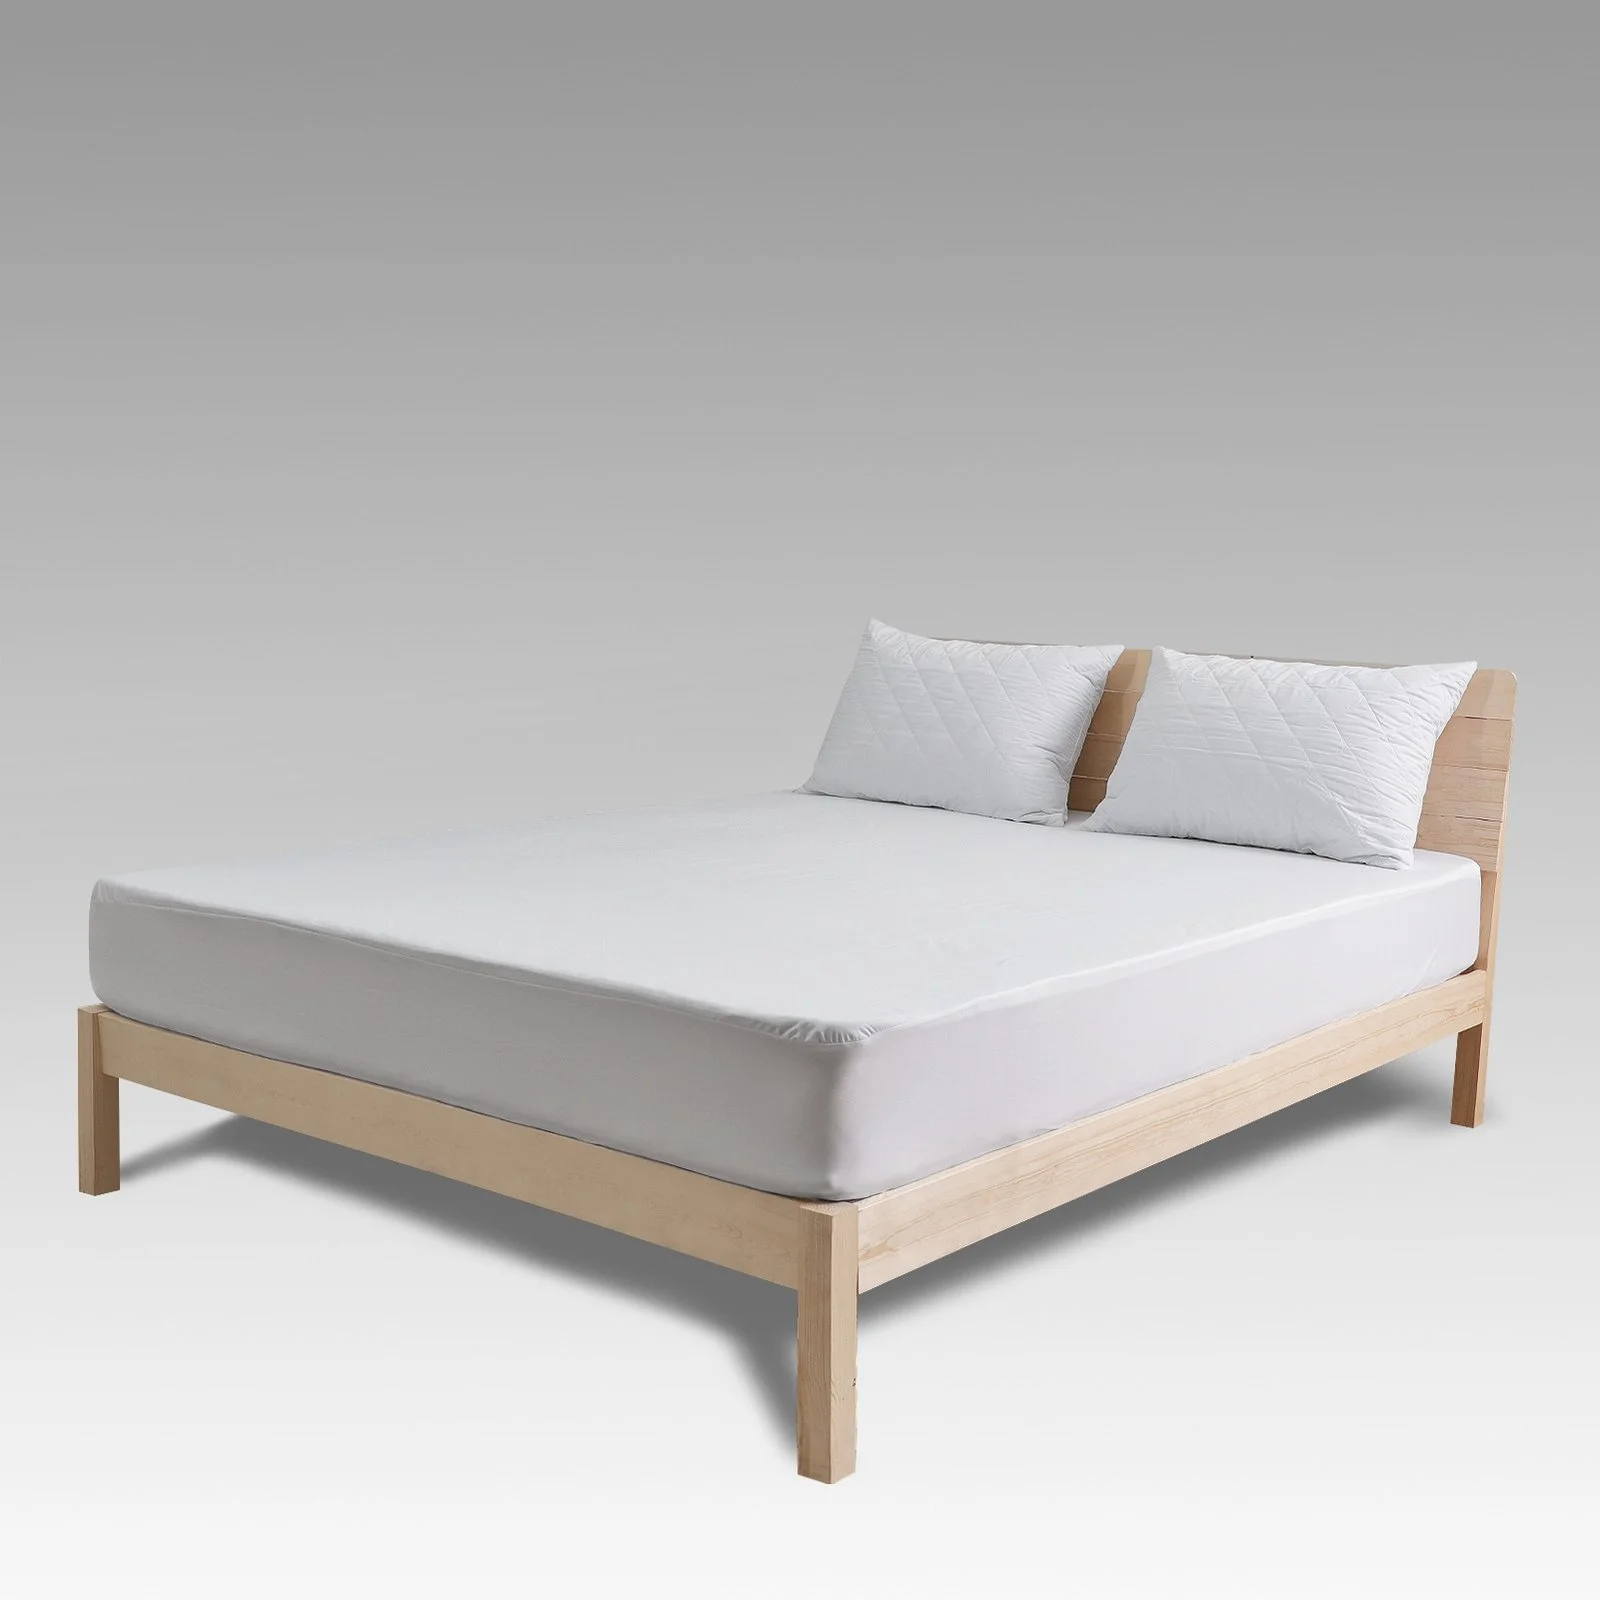
- Pro: The polyester fiber material is durable and easy to clean, which is essential for handling sticky candy spills.
- Pro: Available in Gray (180x200cm), it provides a large, neutral canvas that hides minor stains and looks professional.
- Con: It is designed as a bedspread, so the fabric may be thinner than a dedicated tablecloth; check the thickness if you are placing it over a rough table surface.
Background: The Wall Throw
This is where the "cozy" factor really kicks in. Drape a large, soft throw over the back of the chairs behind the table, or hang it on the wall if you have hooks or a rail. This creates a soft backdrop that frames the candy table. It breaks up the hard lines of the furniture and adds a sense of enclosure. For Halloween, a deep red, purple, or even a neutral gray throw can look incredibly chic. Avoid bright orange throws for the background, as they can be visually overwhelming and clash with the orange packaging of many candies.
Organizing Candy for Easy Access
Organization is the difference between a "candy bar" and a "candy pile." You want guests to see what is available and grab it easily without digging. The key is categorization. Mix and match is fine, but grouping similar items together reduces decision fatigue. For example, keep all hard candies in one bowl, all gummies in another, and all chocolate in a third. This prevents chocolate from melting into gummies in warm rooms.
Bowl Selection and Placement
Use bowls of varying heights to create visual interest. A tall, clear glass bowl works well for smaller candies like M&Ms or Skittles, as you can see the depth. A wide, shallow bowl is better for larger items like lollipops or bars of chocolate, as they are easier to lift out. Arrange the bowls in a triangular or semi-circular pattern. Place the most popular items (usually chocolate or gummies) in the center or front, where they are most visible. Place less popular or smaller items in the back or corners.
Serving Utensils
Never let guests grab candy with their hands if there is a risk of cross-contamination, especially with shared bowls. Provide tongs for larger items and small spoons for smaller candies. Place the utensils in a small holder or a dedicated small bowl next to the main candy bowls. This keeps the serving area tidy and ensures that hands don’t go directly into the candy, which is a common hygiene concern for parents and hosts.
Labeling
If you are hosting a diverse group, consider labeling the bowls. Simple tags with the candy name and any major allergens (like nuts, dairy, or gluten) are helpful. This is particularly useful for office parties where dietary restrictions are common. Use a small chalkboard or printed cards for a professional look. Avoid using sticky notes, which can look messy and fall off in humid conditions.
Creating a Cozy Backdrop with Throws
The backdrop is what ties the entire setup together. A bare wall behind a candy table looks unfinished. A throw blanket draped over the wall or furniture adds texture, color, and warmth. This is also a great way to repurpose blankets you already own. You don’t need to buy new ones; just choose ones that fit your color palette.
Draping Techniques
To drape a throw over a wall, you can use a command strip or a hook if you have one. If not, you can drape it over the back of a chair or a sofa placed behind the table. The key is to let the fabric fall naturally. Smooth out any large wrinkles, but leave some soft folds to add movement. For a more structured look, fold the throw in thirds and hang it so the edges are straight. This creates a neat, rectangular frame around the table.
Stretch Folding Sofa Without Armrest Fitted Sheet Bedspread
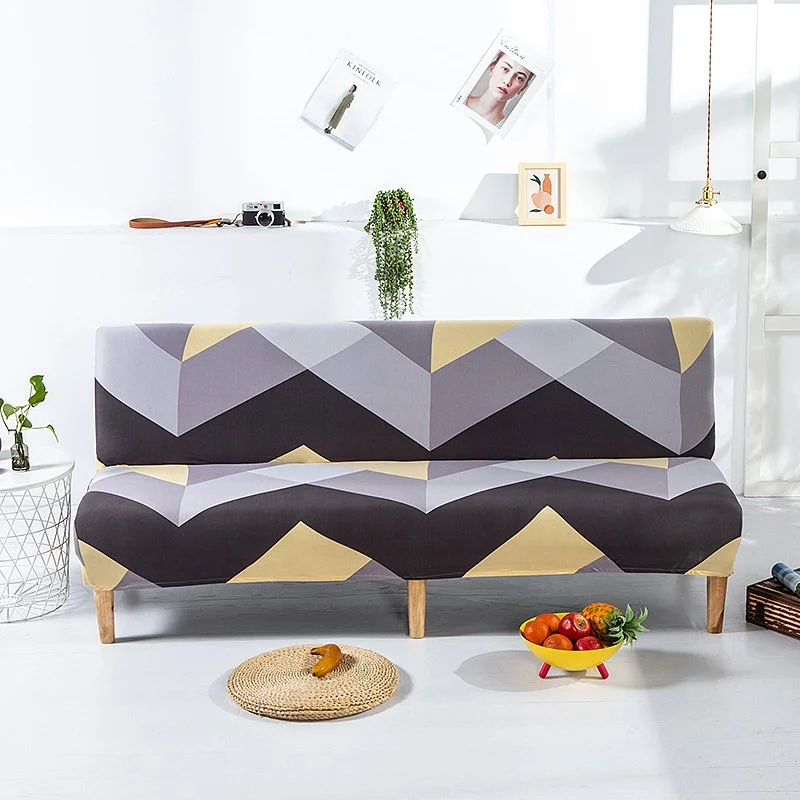
- Pro: The stretch fit material conforms to the shape of the furniture, creating a smooth, tailored appearance.
- Pro: Available in various patterns like Stripes or Posey, it adds a subtle design element without being too busy.
- Con: It is designed for a specific sofa size range (160-190cm); if your furniture is outside this range, it may not fit properly or may look stretched.
Adding Height with Wall Decor
If you have space above the table, add a hanging element to draw the eye up. This balances the visual weight of the table below. A simple hanging plant, a string of lights, or a decorative wall piece can work. For a Halloween theme, a hanging spider web or a small pumpkin decoration can be added, but keep it minimal. The throw blanket should be the dominant visual element, so don’t clutter the wall with too many small items.
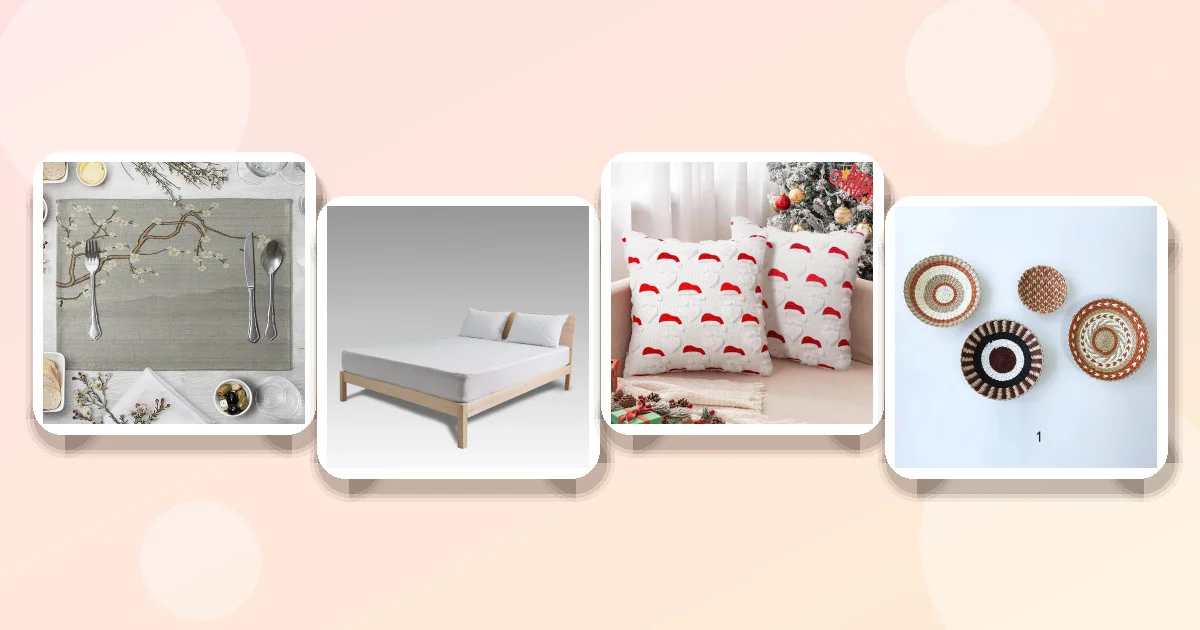
Wall Decoration Hanging Handmade Cattail Straw
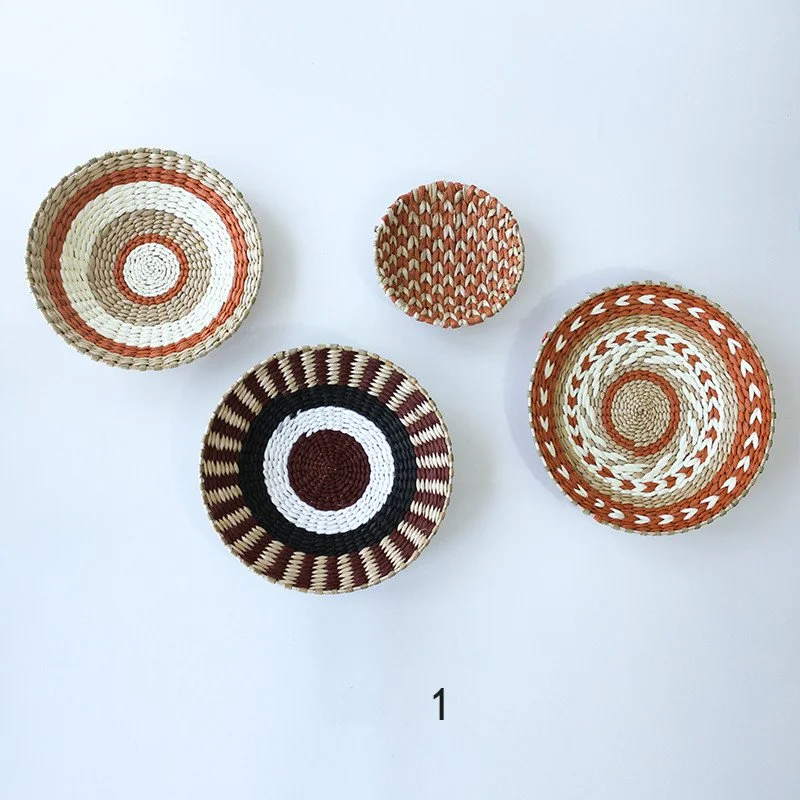
- Pro: The handmade straw material adds a unique, organic texture that contrasts with the smooth candy bowls.
- Pro: The Japanese style and round shape offer a modern, minimalist aesthetic that can complement various decor styles.
- Con: The natural straw material may be susceptible to dust or insects if left out for a long time; it is best used for the duration of the party only.
Product Comparison: Textiles and Mats
When selecting textiles for a candy station, consider the material, size, and intended use. Below is a comparison of the products discussed in this guide, highlighting their key features and best use cases.
| Product | Type/Material | Price | Key Options | Best For |
|---|---|---|---|---|
| Flower Placemat | Cloth / Table Mat | $3.08 | 8 Size/Color Options (40x30cm) | Base layer for small tables or individual bowl placement |
| Simmons Mattress Cover | Polyester Fiber / Bedspread | $20.48 | 2 Size/Pattern Options (140x200, 180x200) | Large, washable base layer for big tables or sofas |
| Santa Christmas Pillow Covers | Faux Fur / Jacquard | $143.96 | 1 Option (White, 18x18) | Textural accent for seating area or table corner |
| Cattail Straw Wall Dec | Straw / Hanging Dec | $11.16 | 17 Color Options | Wall accent to add height and natural texture |
| Stretch Sofa Sheet | Chemical Fiber / Fitted Sheet | $16.76 | 34 Color/Size Options (160-190) | Smooth, tailored cover for sofa/bench behind table |
| Roller Washing Machine Cover | Dust Cover / Waterproof | $9.12 | 81 Color/Size Options | Protective cover for appliances or furniture not in use |
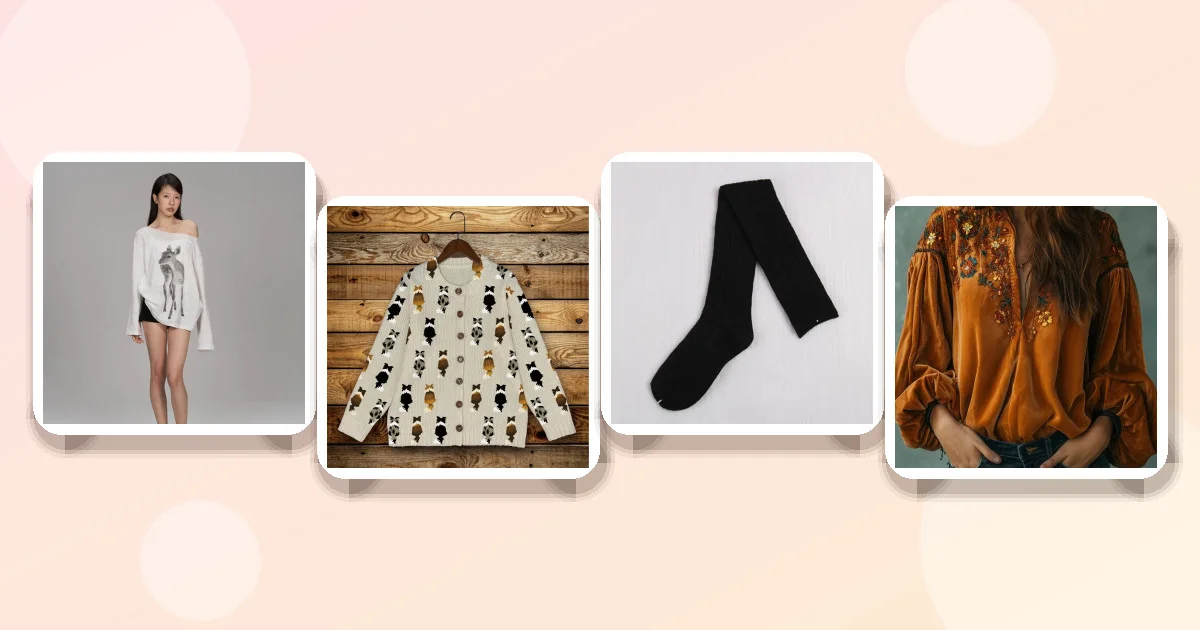
2pcs Santa Christmas Pillow Covers
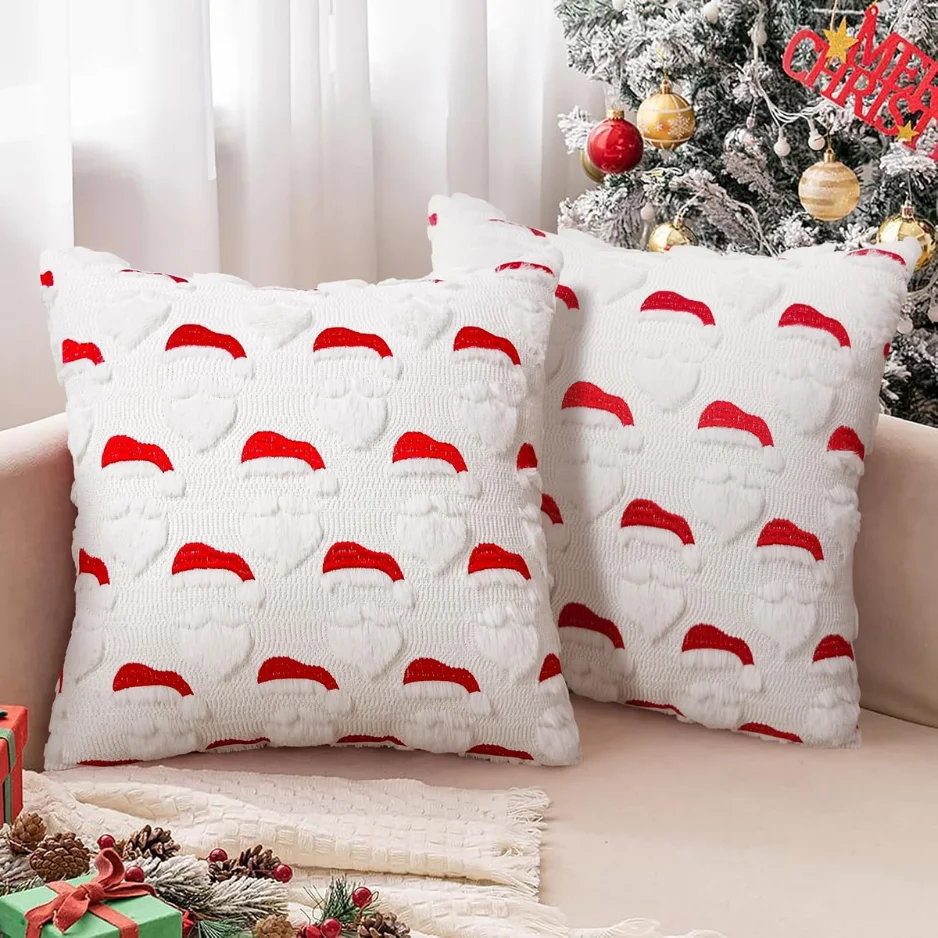
- Pro: The 3D jacquard faux fur material adds significant tactile interest and a cozy feel to the space.
- Pro: The white color is versatile and can be used for holidays other than Halloween, extending its utility.
- Con: The size is 18x18 inches, which is small for a table runner; it is better suited for a single accent spot or as a throw pillow cover.
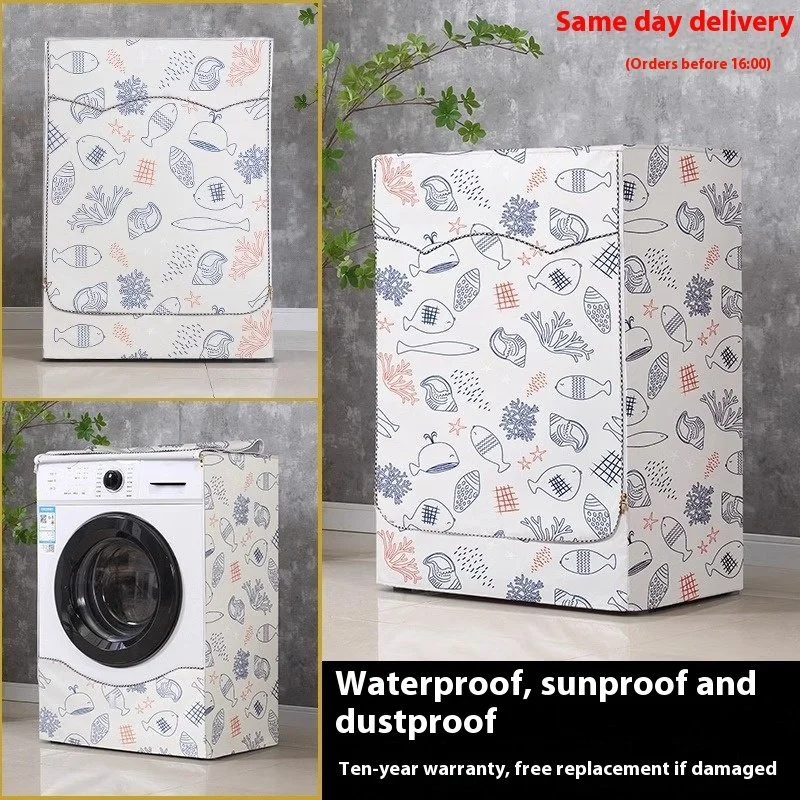
- Pro: The waterproof and sunscreen features make it durable and easy to clean if it gets dusty or dirty.
- Pro: Available in many colors and sizes, it can be matched to the room's decor to hide unsightly items in the background.
- Con: It is designed for machines, so the fabric may be less breathable or soft than a decorative throw; it is best for covering, not displaying.
Common Mistakes to Avoid
Even with the right products, a few common errors can ruin the look of your candy station. Avoiding these mistakes will save you time and ensure a professional result.
Overcrowding the Table
The most common mistake is putting too many items on the table. If you have ten different types of candy, resist the urge to display all of them. Choose the top five or six. The rest can be kept in a basket on the floor or a shelf behind the table. An overcrowded table looks messy and makes it difficult for guests to choose. Leave negative space (empty areas) on the table to let the design breathe. If the table looks full, it feels chaotic. If it looks sparse, it feels curated.
Mismatched Colors
Don’t mix too many colors in the textiles. Stick to a palette of two to three colors. For example, use a gray throw, a white mat, and a touch of purple. If you use orange, black, and purple all at once, it can look like a mess. Let the candy provide the color pop. The textiles should be neutral or complementary, not competing. If you are unsure, stick to neutrals like gray, white, or beige, which go with anything.
Ignoring the Back
Many hosts focus only on the front of the table and forget the back. If you have a bare wall or a messy couch behind the table, it undermines the entire setup. Always dress the back with a throw or a simple piece of wall decor. This creates a complete visual frame. If you don’t have a wall, use a tall vase with branches or a standing lamp to add height to the back of the table.
Forgetting Hygiene
Don’t skip the tongs or spoons. It is a small detail, but it makes a big difference