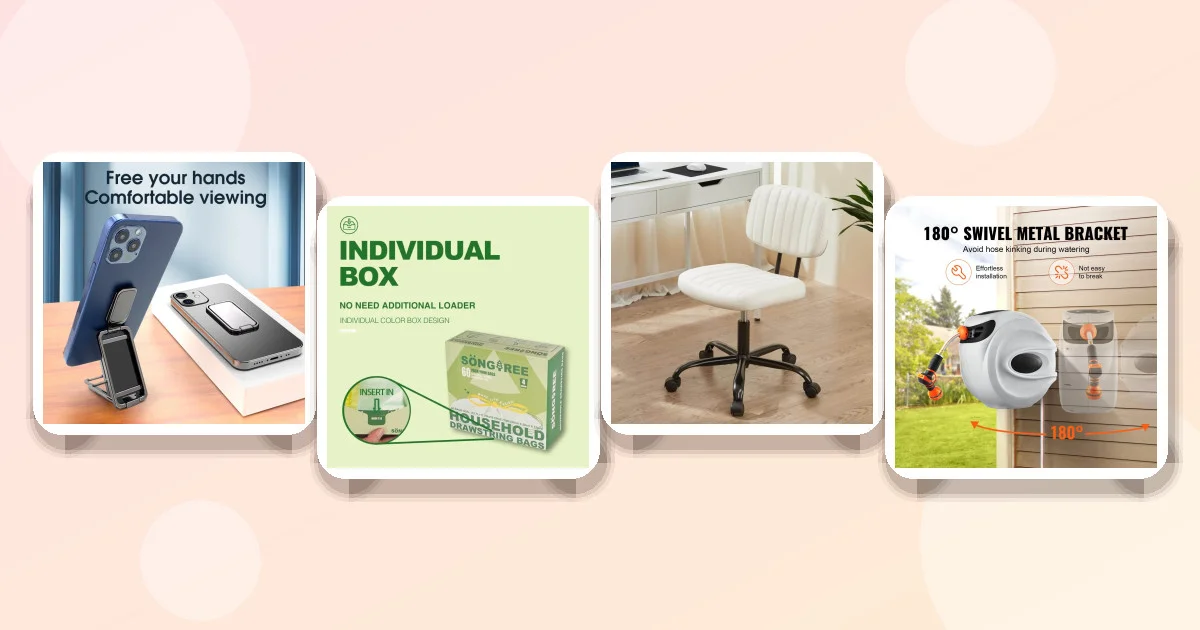

You just got your Starlink dish installed, and now you're staring at a tangle of cables, a router that doesn't fit anywhere, and a living room that suddenly looks like a server closet. The promise of high-speed internet in your RV is real, but the physical setup is often messy. You need a place to put the router that keeps it cool and accessible, a way to hide the power cords, and a surface to work on that doesn't sacrifice your living space. This guide walks you through practical ways to organize your equipment using specific furniture and storage solutions. You will learn where to place the hardware, how to manage the cables, and which types of furniture work best for a compact mobile office.
- Planning Your Starlink RV Setup: Space and Signal
- Where to Place the Router: Stability and Ventilation
- Organizing Cables in a Small Camper
- Choosing the Right RV Furniture for a Workspace
- Best Storage Solutions for Electronics
- Product Comparison: Furniture and Storage Options
- Common Mistakes to Avoid
- Care and Maintenance Tips
- Frequently asked questions
- Key takeaways
Planning Your Starlink RV Setup: Space and Signal
Before you buy a single piece of furniture, you need to understand how your Starlink kit interacts with your RV's interior. The dish is usually mounted on the roof, but the router and the Ethernet cable run inside the vehicle. The most critical factor in choosing where to put your gear is the path of the cable. You want to minimize the length of the cable running inside the RV because long runs can introduce interference or signal loss, and they are harder to hide. Most Starlink kits include a 6 to 10-foot Ethernet cable, but many users purchase longer cables to route the connection to the back of the RV or a specific bedroom. If you are using a longer cable, you need a storage plan that keeps it coiled and protected when not in use, or neatly routed along the walls.
Signal strength inside the RV is generally good if the dish has a clear view of the sky. However, metal walls and appliances can sometimes attenuate the Wi-Fi signal. While the router itself is Wi-Fi 6 capable, the physical placement of the router matters. You want it in a central location if possible, but not buried in a cabinet. Many people find that placing the router in a hallway or a central living area provides the best coverage for the whole vehicle. If your RV is over 30 feet long, you might consider a mesh system in the future, but for now, a single router placed centrally is usually sufficient. Check your RV's layout. If you have a slide-out, the signal might be stronger there, but you don't want to move your workspace every time you extend or retract the slide. A fixed location is better for consistency.
Where to Place the Router: Stability and Ventilation
The Starlink router is a small, white box that runs warm. It is not a heavy piece of equipment, but it needs a stable surface that won't wobble. If you place it on a soft surface like a sofa cushion, it can overheat because the air circulation is blocked. It also can tip over if you bump the furniture. You need a hard, flat surface. A console table, a side table, or a dedicated shelf are all good options. The surface should be at least 8 inches by 8 inches to accommodate the router and the power adapter. The power adapter is a separate brick that also runs warm. You need space for both the router and the adapter, plus the Ethernet cable coming in from the wall.
Ventilation is the key concern. Do not place the router in a closed cabinet, under a bed, or inside a closet. The heat buildup can cause the router to throttle its performance or shut down. If you must hide it, use a ventilated enclosure or leave the cabinet door slightly ajar. A better approach is to place it on an open shelf or a table where air can circulate freely. If you are using a console table, place the router on the top surface, not in a drawer. If you are using a side table, make sure it is sturdy enough to hold the weight of the router and any other small electronics you might keep there, like a phone charger or a small speaker. The goal is a permanent, accessible location that you can reach easily to restart the router if needed, without having to move heavy furniture.
Consider the height of the placement. The router works best if it is at least 3 feet off the ground. This keeps it out of the way of pets and children and allows for better Wi-Fi propagation. A console table or a high-back sofa table is ideal for this height. If you are using a lower piece of furniture, make sure it is not in a dead zone for Wi-Fi. You can test this by moving the router to different spots and checking the signal strength on your laptop or phone. Once you find the spot with the best signal, mark it. This is where your furniture should go. If you are buying new furniture specifically for this purpose, look for pieces that are 18 to 24 inches high. This is the standard height for side tables and console tables, and it works well for router placement.
Organizing Cables in a Small Camper
Cables are the biggest visual clutter in an RV office. You have the power cable from the wall outlet, the Ethernet cable from the dish, and potentially USB cables for charging devices. If you just let them dangle, they look messy and can trip you up. The first step is to shorten the visible length of the cables. Use cable clips or adhesive mounts to run the Ethernet cable along the baseboard or the edge of the furniture, rather than letting it hang down. This keeps the floor clear and the cables out of the way. You can use 3M Command strips or similar removable adhesives to mount the cable clips to the wall or the furniture. This is crucial in an RV because you don't want to drill into the walls or damage the furniture.
For the power cable, you need to manage the strain at the outlet. If the outlet is low on the wall and your router is high on a table, the cable will sag. Use a cable cover or a decorative cord wrap to hide the sag. Alternatively, choose a power outlet that is closer to the height of your router. If you have a dedicated outlet in your RV, use it. If not, consider using a short extension cord to bring the power closer to your workspace. Do not use a long extension cord that you have to coil up and hide; that creates a fire hazard and adds clutter. The goal is a straight, clean line from the outlet to the router. You can also use a power strip with built-in surge protection, but make sure it is small enough to fit on your table or shelf. A compact 3-outlet power strip is usually sufficient for the router, a phone charger, and a small lamp.
If you have multiple devices, like a laptop, a tablet, and a phone, you will have more cables. Use a small cable organizer or a magnetic cable holder to keep the USB cables together. You can mount these on the side of your desk or the back of your router. This keeps the cables within reach but out of the way. Another option is to use a wireless charging pad for your phone, which eliminates one cable entirely. If your laptop supports wireless charging, that is another cable you can remove. The fewer cables you have, the easier it is to keep your setup tidy. Remember that you will be moving this setup when you travel. You want a system that is easy to disconnect and reconnect. Avoid permanent mounting solutions that require tools. Use adhesive mounts that can be removed without leaving residue. This way, you can quickly pack up your workspace when you are ready to hit the road.
Choosing the Right RV Furniture for a Workspace
Not all furniture is suitable for an RV office. You need pieces that are lightweight, sturdy, and compact. A large, heavy oak desk is not practical for an RV because it takes up too much space and is hard to move. Instead, look for multi-functional furniture that can serve as a desk, a storage unit, and a seating area. A console table is an excellent choice because it is narrow and can fit against a wall or in a hallway. It provides a surface for your laptop and router, and often has a lower shelf for storage. A side table is another good option, especially if you want to place it next to a sofa or a bed. It is compact and easy to move around. A folding table is also a good option if you need to save space when you are not working. You can fold it up and store it in a closet or under a bed.
When choosing furniture, consider the material. Lightweight materials like aluminum, bamboo, or engineered wood are better for RVs because they are easier to transport and less likely to shift during travel. Avoid heavy solid wood or metal furniture that can damage your RV's floor or interior. Also, consider the finish. You want a finish that is easy to clean and resistant to scratches. A matte finish or a laminate finish is usually a good choice for an RV because it is durable and easy to wipe down. Avoid glossy finishes that show fingerprints and scratches easily. If you are using the furniture as a desk, make sure it is stable. It should not wobble when you type on your laptop. A wobbly desk can be distracting and can cause your laptop to slide around. Look for furniture with a wide base or adjustable legs to ensure stability.
Another important consideration is the size of the furniture. Measure your available space before you buy anything. You need to leave enough room for your chair, your laptop, and your router. A standard RV living area is often 20 to 30 square feet. A console table that is 36 inches long and 12 inches deep is a good size for a small workspace. It provides enough room for a laptop and a mouse, but it does not take up too much floor space. If you have a smaller space, look for a table that is 24 to 30 inches long. You can also look for furniture with built-in storage, such as drawers or shelves, to help you organize your supplies. A console table with a lower shelf is ideal because you can store your router, power strip, and any extra cables on the lower shelf, keeping the top surface clear for your work.
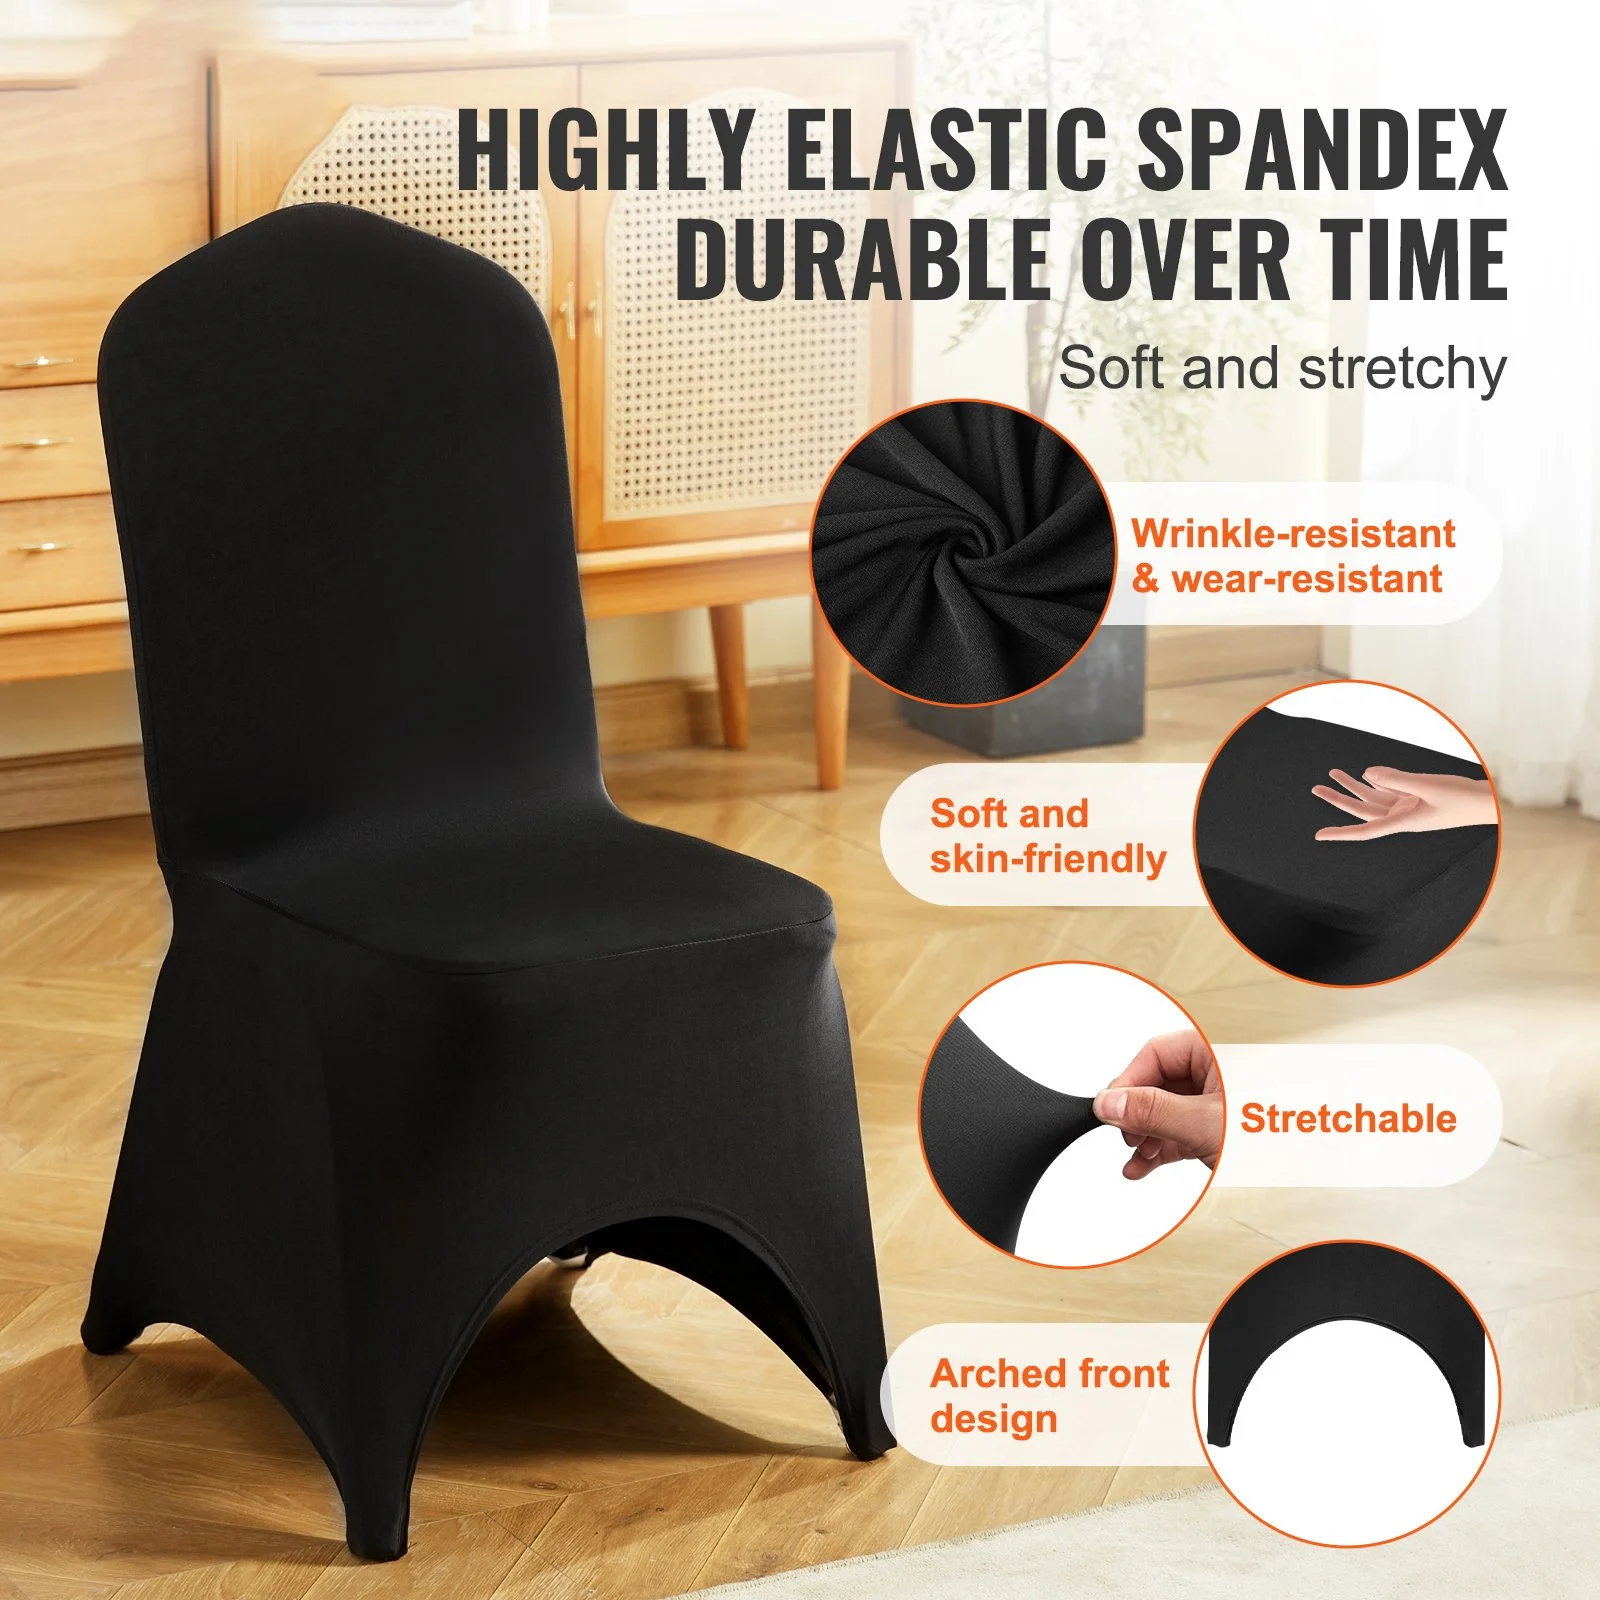
Here is a specific recommendation for a compact workspace. Consider using a Sofa Table, storage Console Table, entryway Table. This piece of furniture is designed for entryways but works well as a compact desk in an RV. It has a wood finish that blends in with most RV interiors, and it is sturdy enough to hold your laptop and router.
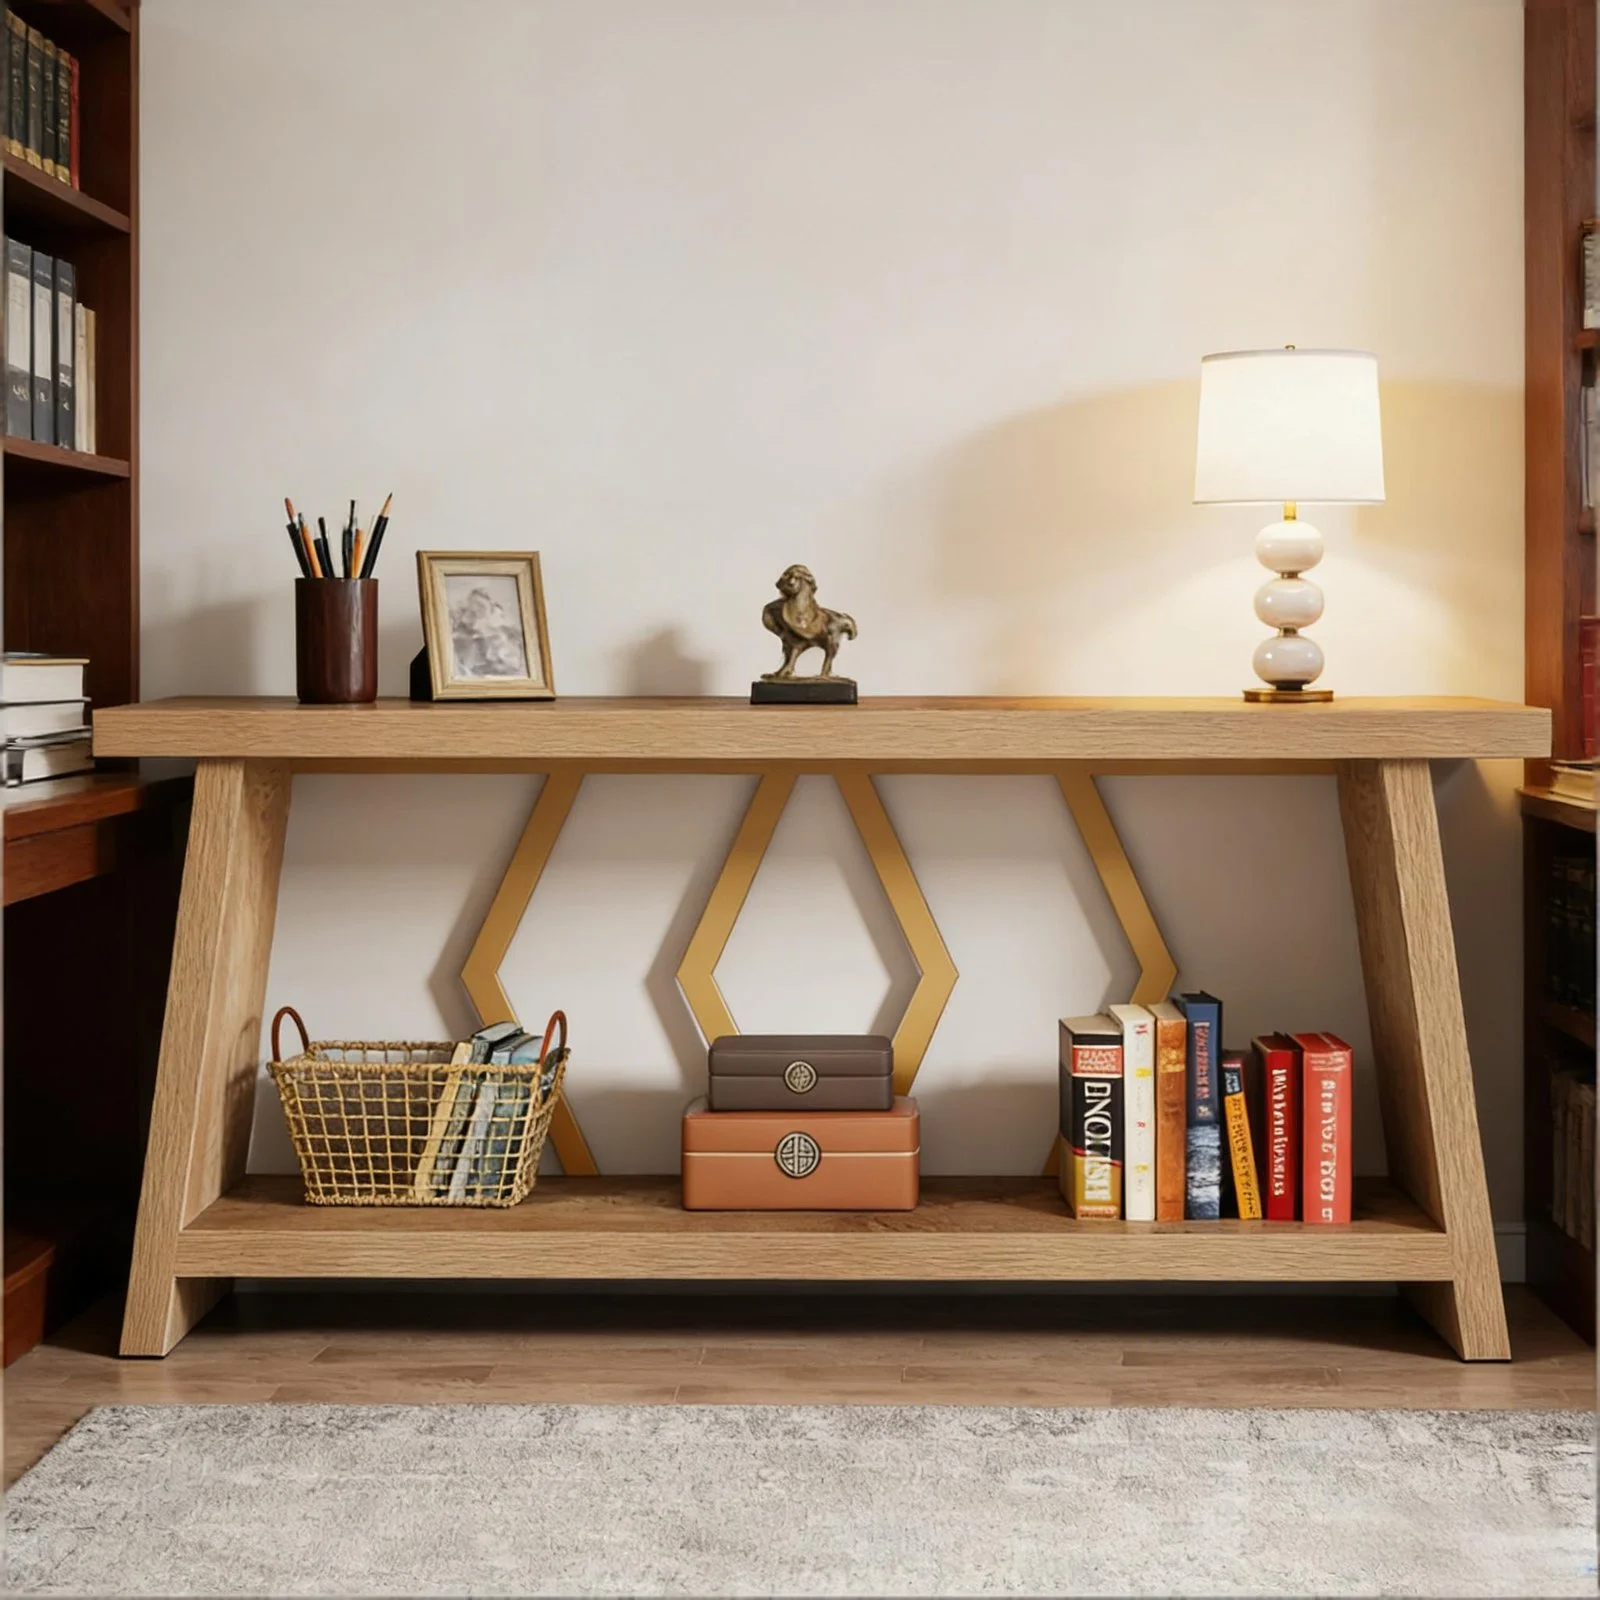
- Provides a stable, hard surface for electronics that promotes airflow.
- Wood finish matches many RV interior styles, keeping the look cohesive.
- Check the exact dimensions to ensure it fits your specific wall space, as sizes can vary slightly.
If you need a more mobile option, a folding chair with a small attached table might be a good choice. However, for a permanent workspace, a fixed piece of furniture is usually better. You want a setup that is ready to use as soon as you park your RV. A folding chair requires you to set it up every time, which can be a hassle. A fixed desk or console table is always ready to go. You can also look for furniture that has a power outlet built in, but these are rare and often expensive. It is usually better to use a power strip on a standard piece of furniture. This gives you more flexibility in where you place the furniture and where you plug in your devices.
Best Storage Solutions for Electronics
Storage is key to keeping your RV tidy. You need a place to store your router when you are not using it, as well as any extra cables, adapters, and accessories. A dedicated storage rack is a good option. It keeps your electronics organized and easy to access. You can use a small shelf unit or a stack of storage bins to store your gear. Make sure the storage is secure so that your electronics do not shift during travel. Use non-slip mats or rubber feet to keep your electronics from sliding around in the storage bins. You can also use cable ties or velcro straps to keep your cables organized and prevent them from tangling.
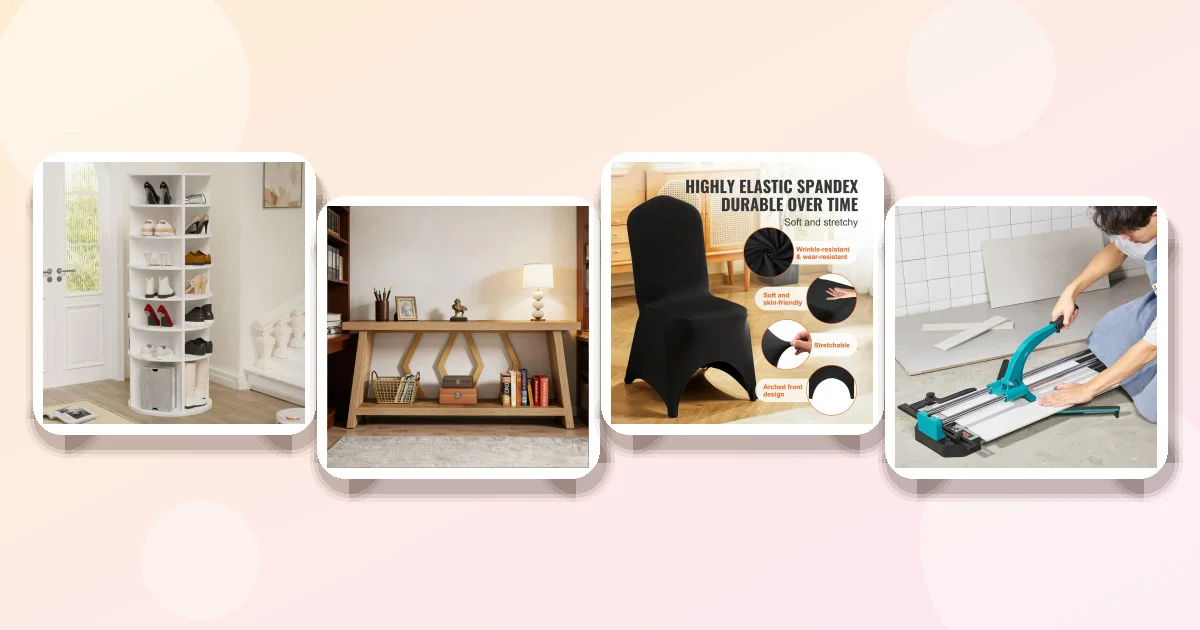
For vertical storage, consider using a rotating rack. This is especially useful if you have a lot of small items like chargers, adapters, and cables. A rotating rack allows you to easily access all your items without having to dig through a drawer. It is also a good way to use vertical space in a small RV. You can mount it on the wall or place it on a shelf. Look for a rack that is made of durable material like metal or sturdy plastic. It should be able to hold the weight of your electronics without bending or breaking. A 7-story Rotating Shoe Rack Is a unique option for vertical storage. While it is designed for shoes, the seven tiers provide ample space for organizing small electronics, cables, and accessories. The rotating feature makes it easy to find what you need, and the height allows you to use vertical space effectively.
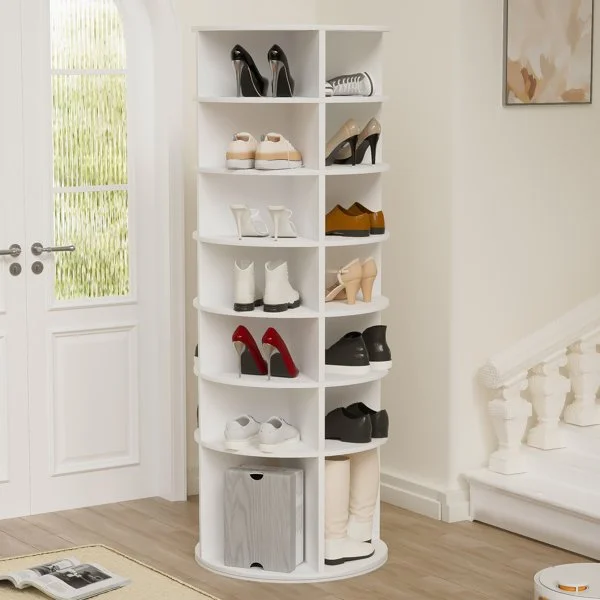
- Seven tiers provide significant vertical storage for small items like chargers and cables.
- Rotating design allows for easy access to all items without moving the unit.
- Designed for shoes, so check that the tier depth is sufficient for your specific electronic accessories.
If you have larger items, like a printer or a large power strip, you might need a more substantial storage solution. A storage rack with wheels is a good option for this. It allows you to easily move the storage unit to different locations in your RV. You can use it to store your Starlink gear, your work supplies, and any other electronics you might have. Look for a rack that is sturdy and has a high weight capacity. It should be able to hold the weight of your equipment without tipping over. A Storage Rack with Wheels, Total Capacity 275 Pounds, Using Six 2-inch Swivel Casters, Green Is a heavy-duty option that can hold a significant amount of weight. The swivel casters make it easy to move around, and the green color is a neutral choice that fits in with most RV interiors.
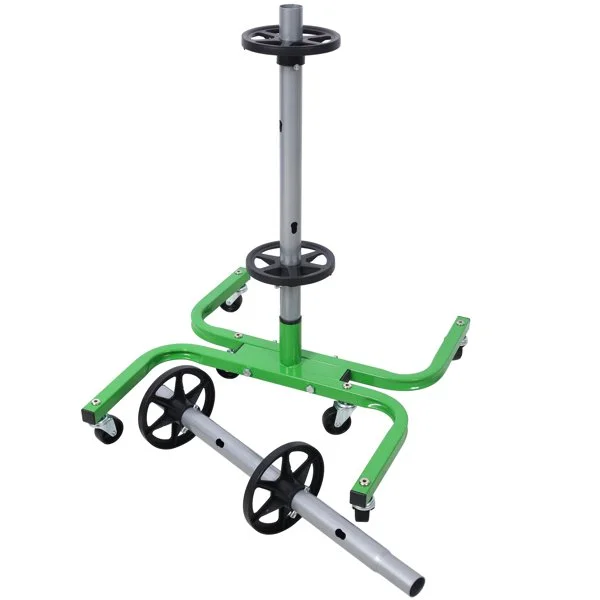
- High weight capacity of 275 lbs ensures stability for heavier electronic equipment.
- Swivel casters allow for easy mobility within the RV without lifting.
- The green color may not match all interior decors, and the size may be too large for very small RVs.
For storage that is more concealed, consider using a piece of furniture with built-in storage. A console table with a lower shelf is a good option, as mentioned earlier. You can store your router and power strip on the lower shelf, keeping them out of sight but easily accessible. You can also use a drawer unit to store your cables and accessories. A small drawer unit with 3 to 4 drawers is usually sufficient for most RV offices. Make sure the drawers are easy to open and close, and that they have enough space to hold your items without being too tight. You can also use dividers inside the drawers to keep your items organized. This is a simple but effective way to keep your RV office tidy and functional.
Product Comparison: Furniture and Storage Options
Choosing the right furniture and storage solutions for your Starlink RV setup depends on your specific needs and the size of your RV. The products listed above offer different benefits for different types of users. A console table is ideal for a fixed workspace, while a rotating rack is better for organizing small accessories. A storage rack with wheels is best for heavy equipment that needs to be moved around. Here is a comparison of the products mentioned in this guide to help you decide which ones are right for you.
| Product | Price | Type/Material | Options | Best For |
|---|---|---|---|---|
| 7-story Rotating Shoe Rack | $456.6 | Vertical Storage Rack | White | Organizing small electronics and cables vertically |
| Sofa Table, storage Console Table | $753.84 | Wood Console Table | Wood | Fixed workspace for router and laptop |
| Storage Rack with Wheels | $164.68 | Heavy-duty Metal Rack | Green | Moving heavy equipment and storage |
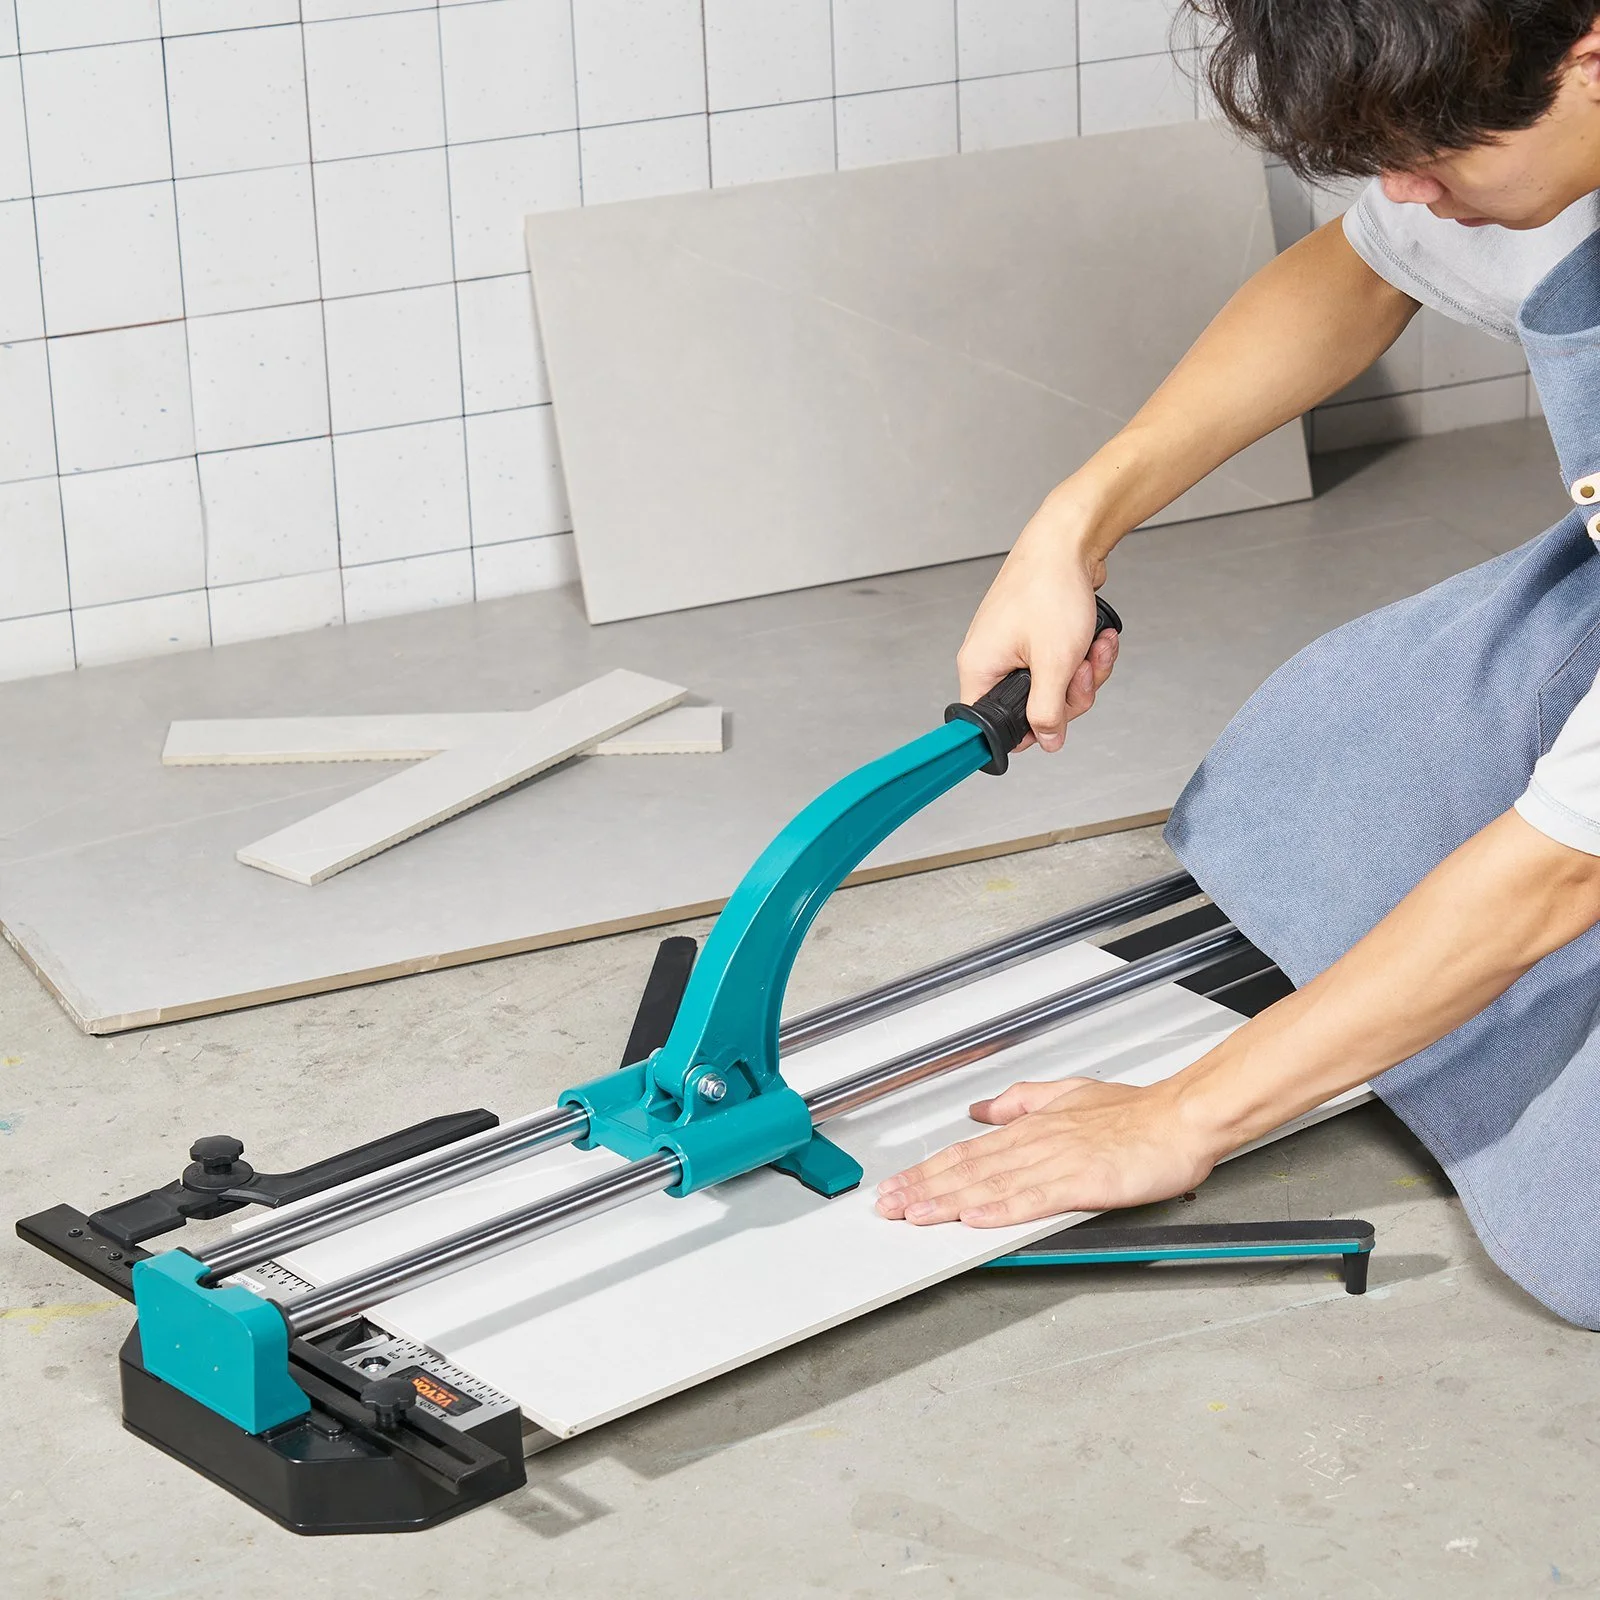
| Vevor Stretch Spandex Folding Chair Covers | $137.96 | Spandex Fabric | Black (50pcs) | Protecting and unifying seating furniture |
| Manual Tile Cutter | $362.6 | Metal Tool | 8102E 8L | DIY customization of interior surfaces |
| < Shop the story
All products from this guide
|