
Many RV owners struggle to balance the need for high-speed internet with the limited square footage of their vehicles. You want reliable connectivity for work or entertainment, but you also need a space that feels like home, not a server room. The challenge is integrating the Starlink hardware—dish, router, cables, and power—without creating tripping hazards or visual clutter. This guide breaks down how to arrange your RV furniture and storage to support a functional Starlink setup. You will learn where to place the dish, how to manage cables, and which specific products can help you organize your tech and living space effectively.
Choosing the Right Furniture Layout
The foundation of a successful Starlink RV setup is a furniture layout that supports both work and leisure. You need a dedicated workspace that is ergonomically sound but can be tucked away when you are not using it. In a typical Class C or Class A RV, the rear garage or a corner of the living area is the best location for a permanent desk. Avoid placing your desk directly under the Starlink dish if possible, as the signal path should be clear, and you do not want the router obstructed by heavy furniture.
Defining the Work Zone
Create a distinct area for your computer and peripherals. This does not need to be a separate room, but it should be a defined corner or section. A folding table that attaches to a wall is a common solution, but for remote work, a fixed or semi-fixed surface is often more stable. Look for furniture with integrated cable management, such as grommets or clips, to keep power cords and data lines off the floor. If you are using a laptop, ensure the surface is rigid enough to support typing without wobbling. A wobbly desk is a major distraction during long video calls.
Consider the lighting in this zone. Natural light is best for eye comfort, so position the desk near a window if feasible. However, be mindful of glare on your screen. If the window faces the sun during peak work hours, you may need a shade or a screen filter. Artificial lighting should be adjustable, allowing you to switch from bright task lighting to dim ambient lighting for evening use. This flexibility is crucial for maintaining a work-life balance in a confined space.
Maximizing Living Space
When you are not working, the office should disappear. Multi-functional furniture is key here. Sofas that convert into beds, tables that fold up, and chairs that stack are essential tools. The goal is to reclaim floor space for movement, dining, or sleeping. A well-designed layout allows you to transition from "work mode" to "home mode" in under five minutes. This psychological shift helps prevent burnout, a common issue for digital nomads who live and work in the same small space.
Think about traffic flow. Ensure there is a clear path from the door to the bathroom, kitchen, and sleeping area that does not require navigating around a desk or a ladder. Tripping over furniture or cables is a safety risk, especially in a vehicle that may be moving or on uneven terrain. Keep high-traffic areas clear. Use vertical space for storage rather than horizontal floor space. Wall-mounted shelves and tall cabinets are your friends in an RV.
Protecting and Mounting Starlink Hardware
Starlink hardware is designed for outdoor use, but it is not indestructible. The dish and router are sensitive to extreme weather, physical impact, and dust. In an RV, the hardware is subject to constant vibration and movement, which can loosen connections over time. Proper protection and mounting are critical to maintaining a reliable connection and extending the life of your equipment.
Mounting the Dish
The Starlink dish requires a clear view of the sky. On an RV, this usually means mounting it on the roof or a high side panel. A roof mount is ideal for signal strength, but it adds wind resistance and weight to the top of the vehicle, which can affect stability at high speeds. If you choose a roof mount, use a sturdy, weather-sealed bracket. Ensure the bracket is rated for the weight of the dish and can withstand the forces of highway driving. A side mount is less aerodynamic but easier to access and maintain. Whichever location you choose, ensure the mount allows for easy adjustment of the dish's angle.
Consider adding a protective cover or shield if you plan to park in harsh weather conditions, such as heavy snow or hail. While Starlink is weather-resistant, prolonged exposure to extreme elements can degrade the plastic housing. A simple, custom-fitted cover can extend the life of the dish. However, ensure the cover is vented to prevent heat buildup and moisture accumulation. A sealed cover can trap condensation, which can damage the electronics inside.
Protecting the Router
The Starlink router is more vulnerable than the dish. It is typically kept indoors, but in an RV, it is exposed to dust, pet hair, and accidental spills. Place the router in a well-ventilated area, away from direct sunlight and heat sources. Do not place it in a closed cabinet without airflow, as overheating can cause connection drops. A dedicated shelf or a small, open-front cabinet is ideal. Ensure the router is level and stable to prevent it from tipping over during vehicle movement.
Use a surge protector to protect the router and your other electronics from power fluctuations. RV power sources can be unstable, especially when using generators or shore power in remote areas. A quality surge protector with a resettable breaker is a wise investment. It is also a good idea to unplug the router when you are not using it and the RV is parked for an extended period. This saves power and reduces the risk of electrical issues.
Cable Management and Storage
Cables are the unsung heroes of any tech setup, but in an RV, they are a major source of clutter and safety hazards. The Starlink system includes a long cable running from the dish to the router, as well as power cables and network cables. If not managed properly, these cables can tangle, trip people, and interfere with the movement of furniture.
Routing Cables Safely
Plan your cable run before you install the hardware. Use existing conduits or channels in the RV to hide cables. If your RV does not have built-in channels, you can use cable raceways or adhesive cable clips to secure lines along walls and ceilings. Keep cables away from edges and corners where they can be pinched or cut. Use a staple gun or zip ties to secure cables to the structure of the RV, but be careful not to drill into hidden wiring or structural elements.
Label your cables. It is easy to forget which cable goes where, especially if you have multiple devices connected. Use a label maker to identify each cable at both ends. This saves time when you need to troubleshoot or rearrange your setup. Color-coded cable ties can also help you organize bundles of cables. For example, use red ties for power cables and blue ties for data cables. This visual system makes it easy to identify and manage your connections.
Storing Excess Cable
Starlink cables are longer than most RV users need. You will likely have several feet of excess cable. Store this excess in a neat coil, secured with a velcro tie. Do not wrap the cable tightly around a spool, as this can cause kinks and damage the internal wires. Place the coiled cable in a storage bin or a dedicated cable box. Keep it in a dry, accessible location. If you need to adjust the cable length, you can easily uncoil and re-secure it.
Consider using a cable management box to hide the router and the hub where the cables converge. These boxes are designed to hold routers, modems, and power strips, with holes for cable access. They keep the area tidy and protect the electronics from dust. Choose a box that is large enough to fit your equipment and has adequate ventilation. A cable management box is a simple, effective solution for reducing visual clutter in your RV.
Essential Storage Solutions for Tech
Remote work in an RV requires more than just a desk and a laptop. You need storage for chargers, adapters, spare batteries, and other tech accessories. Without proper organization, these small items can scatter throughout the vehicle, making it difficult to find what you need when you need it. Dedicated storage solutions help keep your tech gear organized and protected.
Organizing Small Accessories
Use small bins, trays, or drawer organizers to keep your tech accessories sorted. Group similar items together, such as all USB cables in one bin and all charging blocks in another. Label the bins so you can quickly find what you need. This system prevents the "black hole" effect, where small items disappear into the depths of a drawer and are never seen again. It also makes it easier to pack up and move your setup when you travel to a new location.
Consider using a portable tech organizer. These are often made of durable fabric or leather and have multiple compartments for cables, chargers, and small devices. They are easy to carry and can be stored in a closet or under a bed. A portable organizer is ideal for digital nomads who frequently move between locations. It allows you to keep your essential work gear together in one place, ready to be deployed at a moment's notice.
Protecting Your Laptop
Your laptop is your primary tool for remote work. It deserves proper protection from dust, spills, and physical damage. A high-quality laptop sleeve or case is essential. Look for a case with padding and a water-resistant exterior. If you use your laptop in a dusty environment, such as a construction site or a rural area, a more robust case with a zippered closure is recommended. This prevents dust from entering the vents and keys.
When not in use, store your laptop in a secure, dry location. A locked cabinet or a safe is ideal if you are parked in a public area. This protects your device from theft. Also, ensure the laptop is fully charged before storing it for an extended period. Lithium-ion batteries degrade if they are left at a very low charge level. Store the laptop at around 50% charge to maintain battery health.
Using Multi-Purpose Furniture
Choose furniture that serves multiple purposes. A bench with built-in storage, a coffee table with lift-top storage, or a bed with drawers underneath are all excellent choices. These pieces allow you to store your tech gear and other belongings out of sight. This helps keep your living space tidy and functional. When selecting furniture, measure your RV carefully to ensure the pieces will fit. Asian sizing can vary, so check the dimensions before you buy.
Here is a specific product that can help with organizing smaller items or creating a dedicated storage area in your RV: Litter Box Enclosure for 2 Cats.cat Litter Box Furniture,enclosed Cat Litter Boxes,cat Furniture Cabinet,rustic.
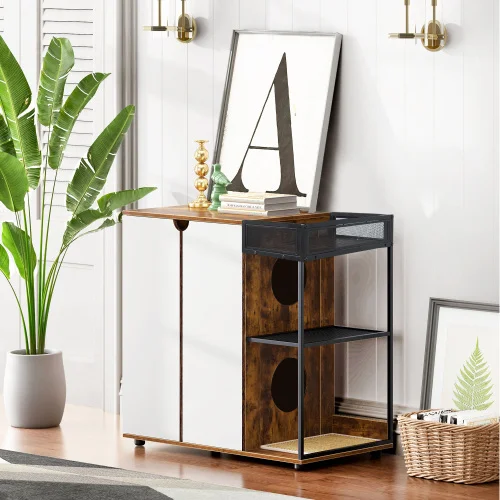
- Constructed from particle board, it provides a sturdy structure for storing items like routers or backup drives.
- The enclosed design keeps dust and pet hair away from sensitive electronics stored inside.
- It is specifically designed for cats, so it may not be aesthetically ideal for a general home office unless you have pets.
Product Comparison
When selecting products for your Starlink RV setup, it is important to consider how each item fits into your overall organization strategy. The following table compares the recommended products based on their price, material, options, and best use case. This will help you decide which items are most relevant to your specific needs.
| Product | Price | Type/Material | Options | Best For |
|---|---|---|---|---|
| Litter Box Enclosure | $396.72 | Particle Board | White Walnut | Enclosed storage for pets and small tech items |
| Tap and Die Set | $284.48 | Bearing Steel | Black, 116-piece | DIY repairs and custom mounting hardware |
| Vevor Paint Sprayer | $534.08 | Electric, 3000psi | Black | Refinishing RV furniture or interior surfaces |
| Laptop Protective Cover | $2.04 | Silicone | 6 Colors | Dust protection for specific HP 15 models |
| 50 Corrugated Boxes | $71.88 | Corrugated Paper | White and Yellow | Packing and transporting fragile tech items |
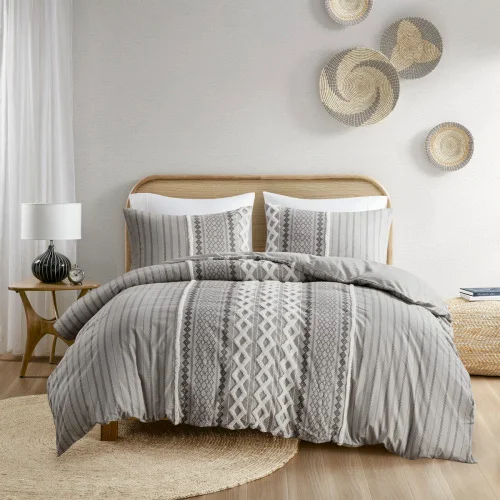
| King Cal King Duvet Set | $458.48 | Cotton Chenille | Multicolor | Comfortable sleeping area in large RVs |
Each of these products serves a different purpose in the Starlink RV ecosystem. The Tap and Die Set, 116-piece Include Metric and Sae Size, Bearing Steel Taps and Dies, Essential Threading Tool.
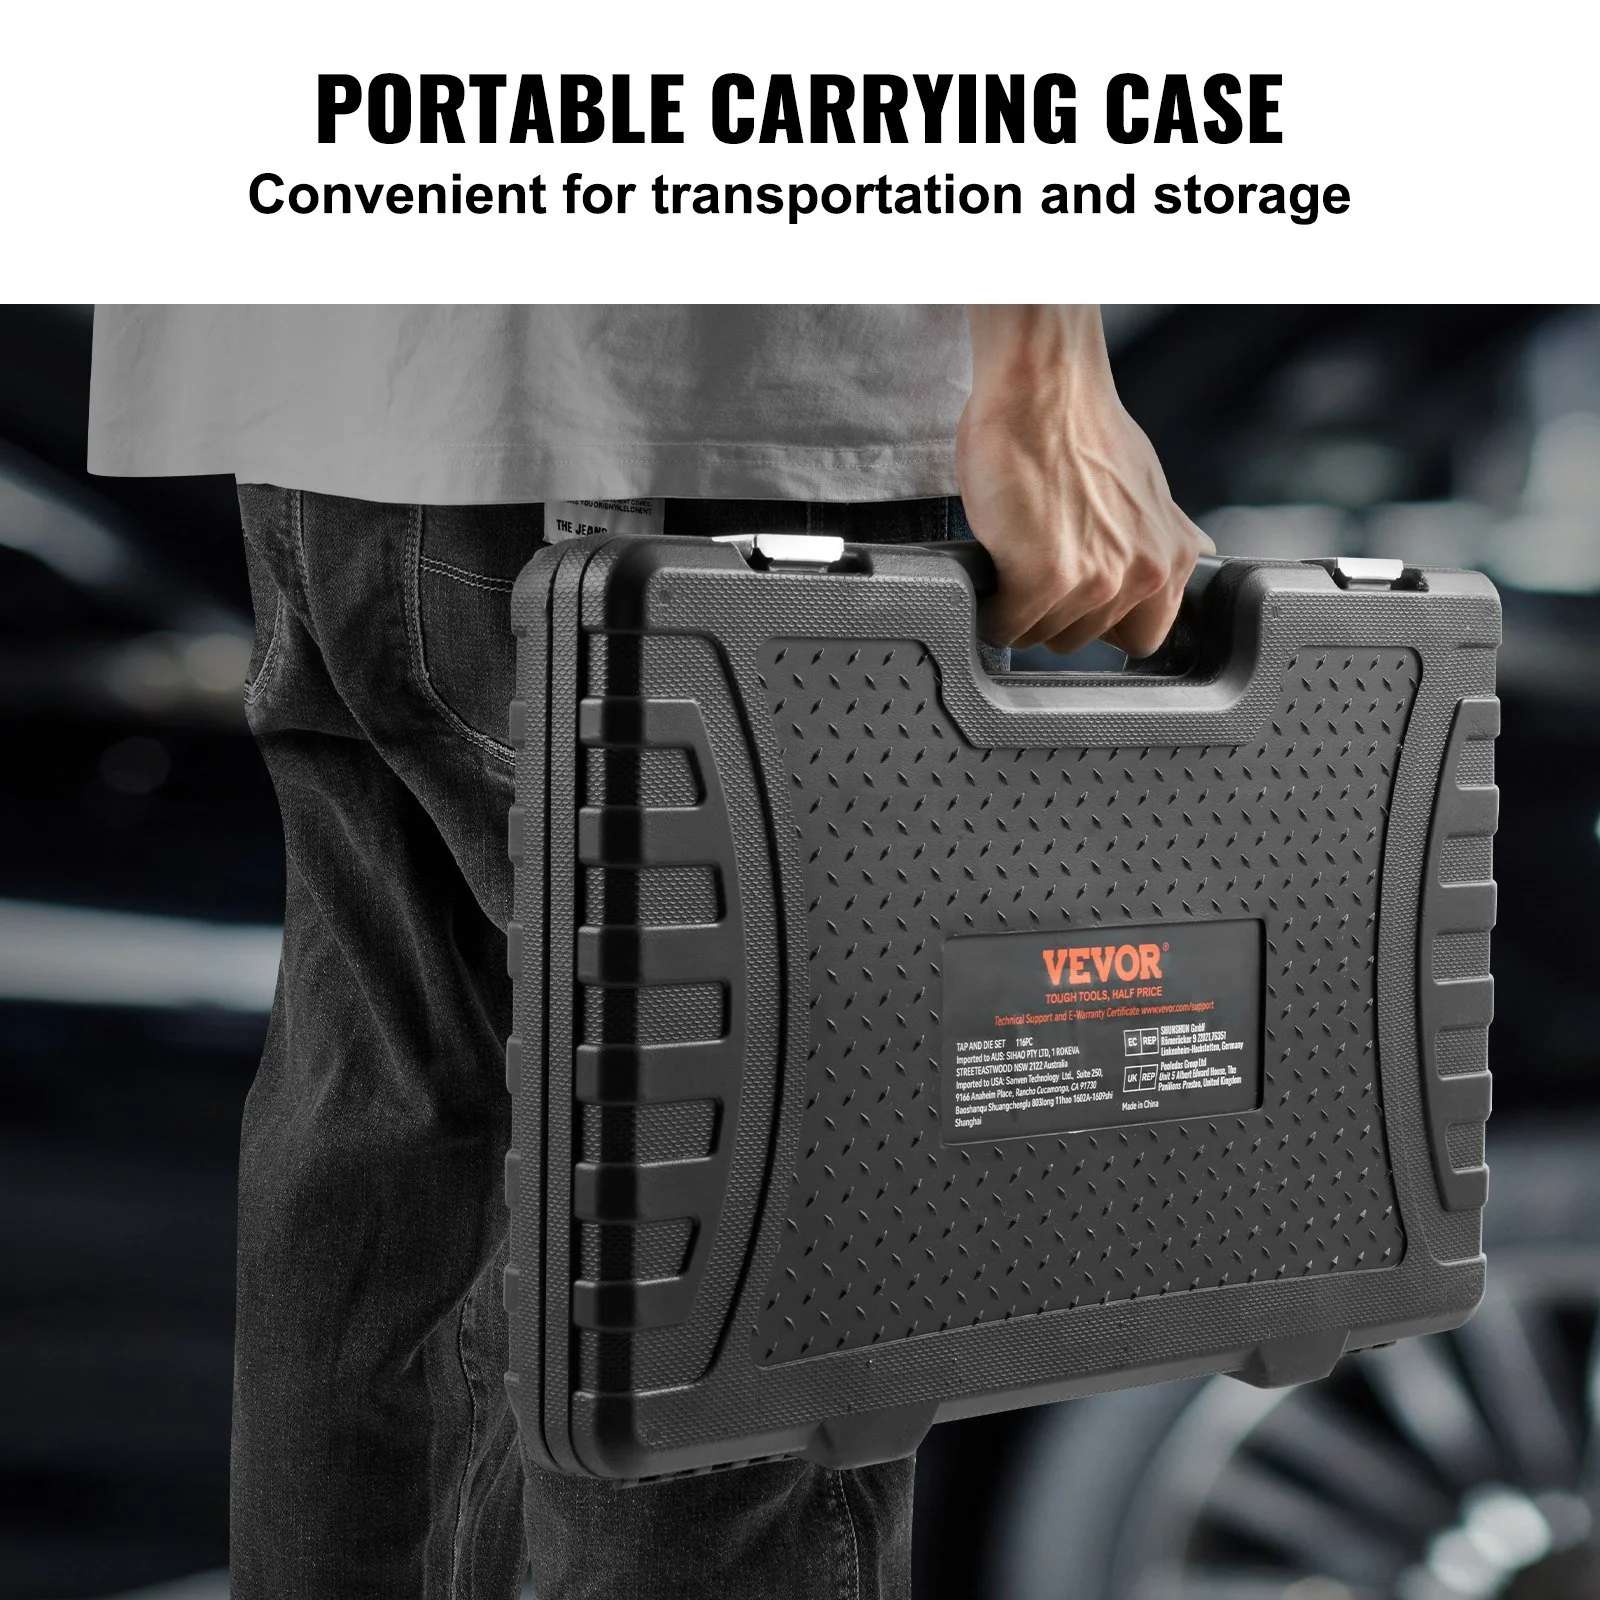
- Includes both Metric and SAE sizes, offering versatility for various hardware types.
- Made from bearing steel, ensuring durability and long-term use.
- It is a specialized tool set and may be overkill for users who do not perform mechanical repairs.
For those looking to refresh the look of their RV interior, the Vevor Stand Airless Paint Sprayer, 3000psi 750w Efficient Electric Airless Sprayer,for Home Interior and Exterior Furniture and Fences, Handheld Paint Sprayers, Fine and Even Painting Effect.
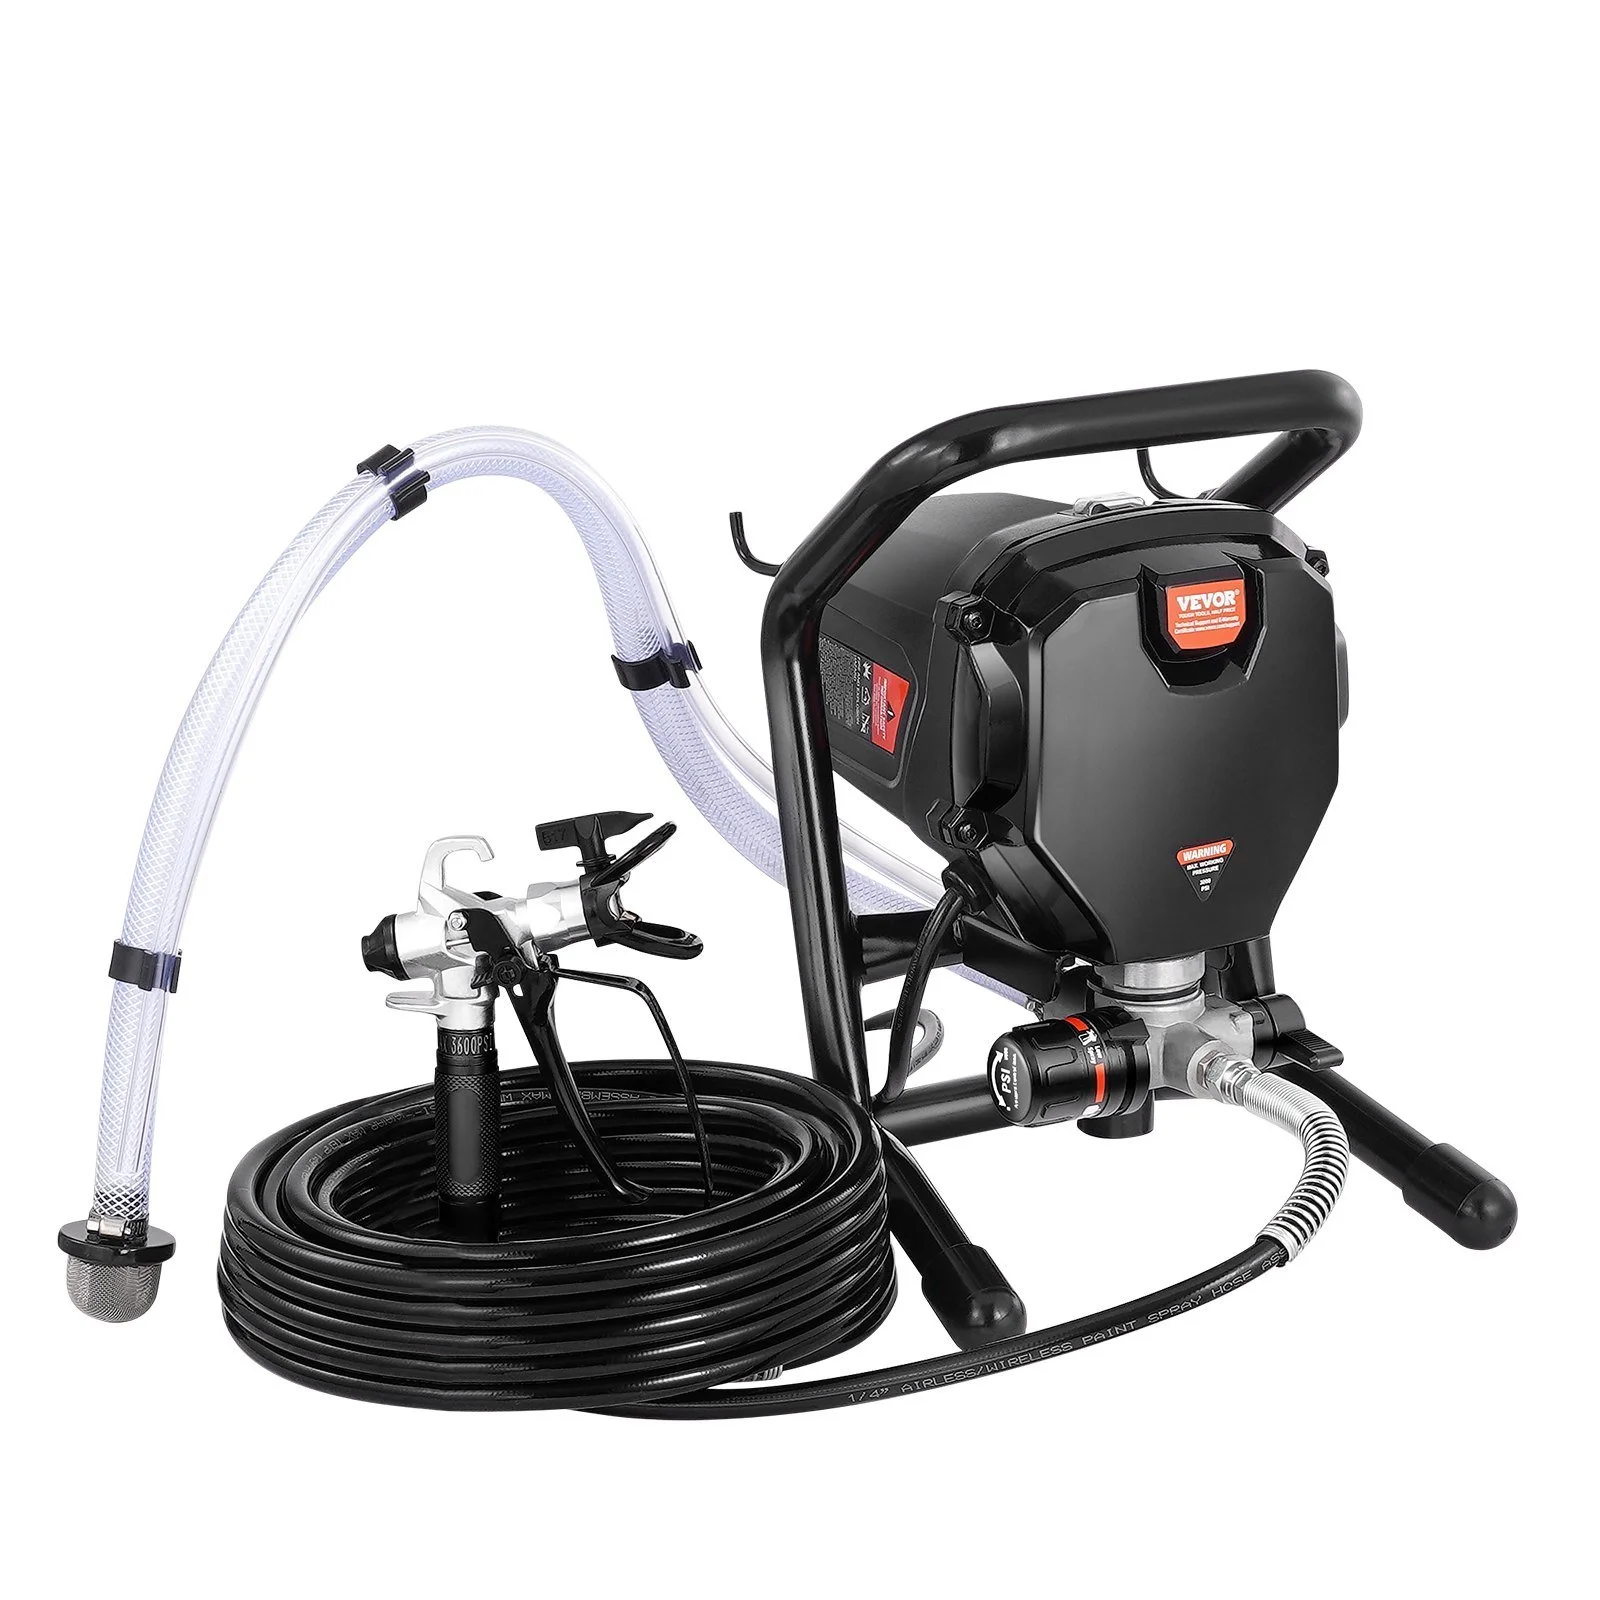
- Delivers a fine and even painting effect, ideal for smooth surfaces like RV cabinets.
- Efficient electric design allows for consistent application over larger areas.
- It is a large, heavy tool that requires significant setup and cleanup time.
If you have a specific laptop model, the Laptop Protective Cover Dust Cover Fingerprint Edition.
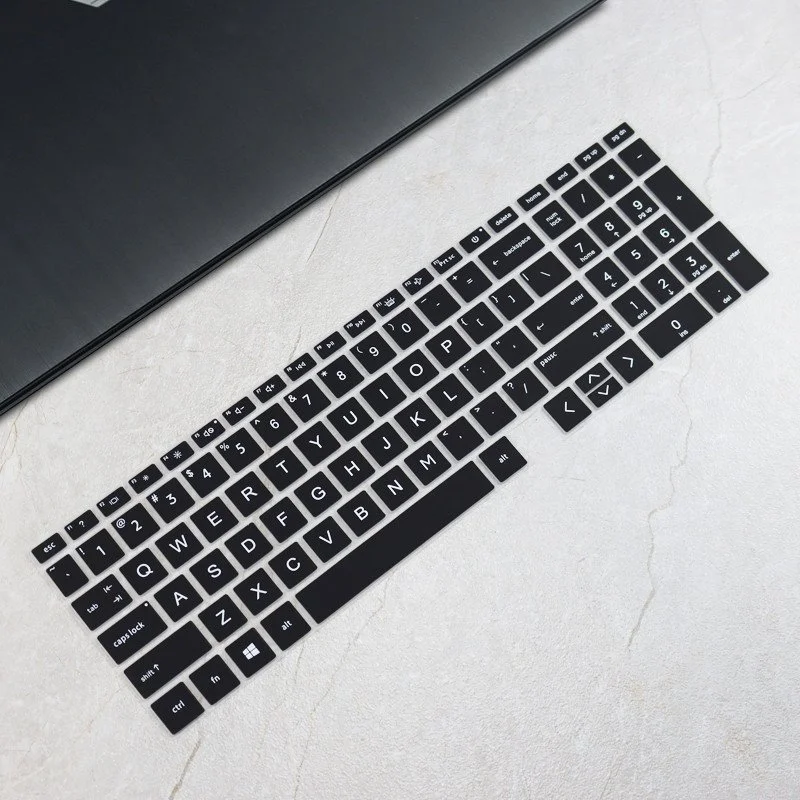
- Made of silicone, providing a flexible and snug fit.
- Available in six colors, allowing for customization.
- It is only compatible with the HP 15 fingerprint model, limiting its use for other laptops.
For moving your RV or transporting your Starlink equipment, the 50 Corrugated Paper Packaging Boxes.
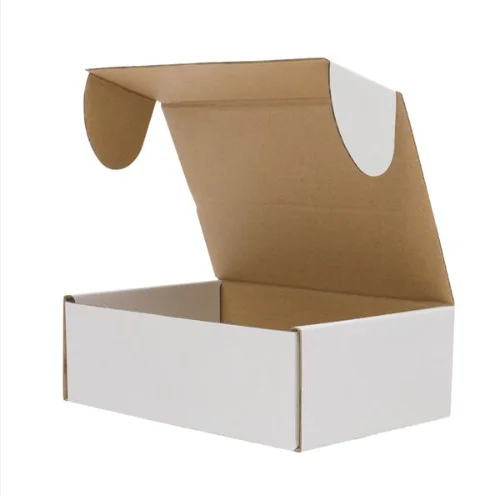
- Provides sturdy protection for items during transit.
- Available in a pack of 50, offering good value for bulk packing.
- Paper boxes are not waterproof, so they should not be used in wet conditions.